

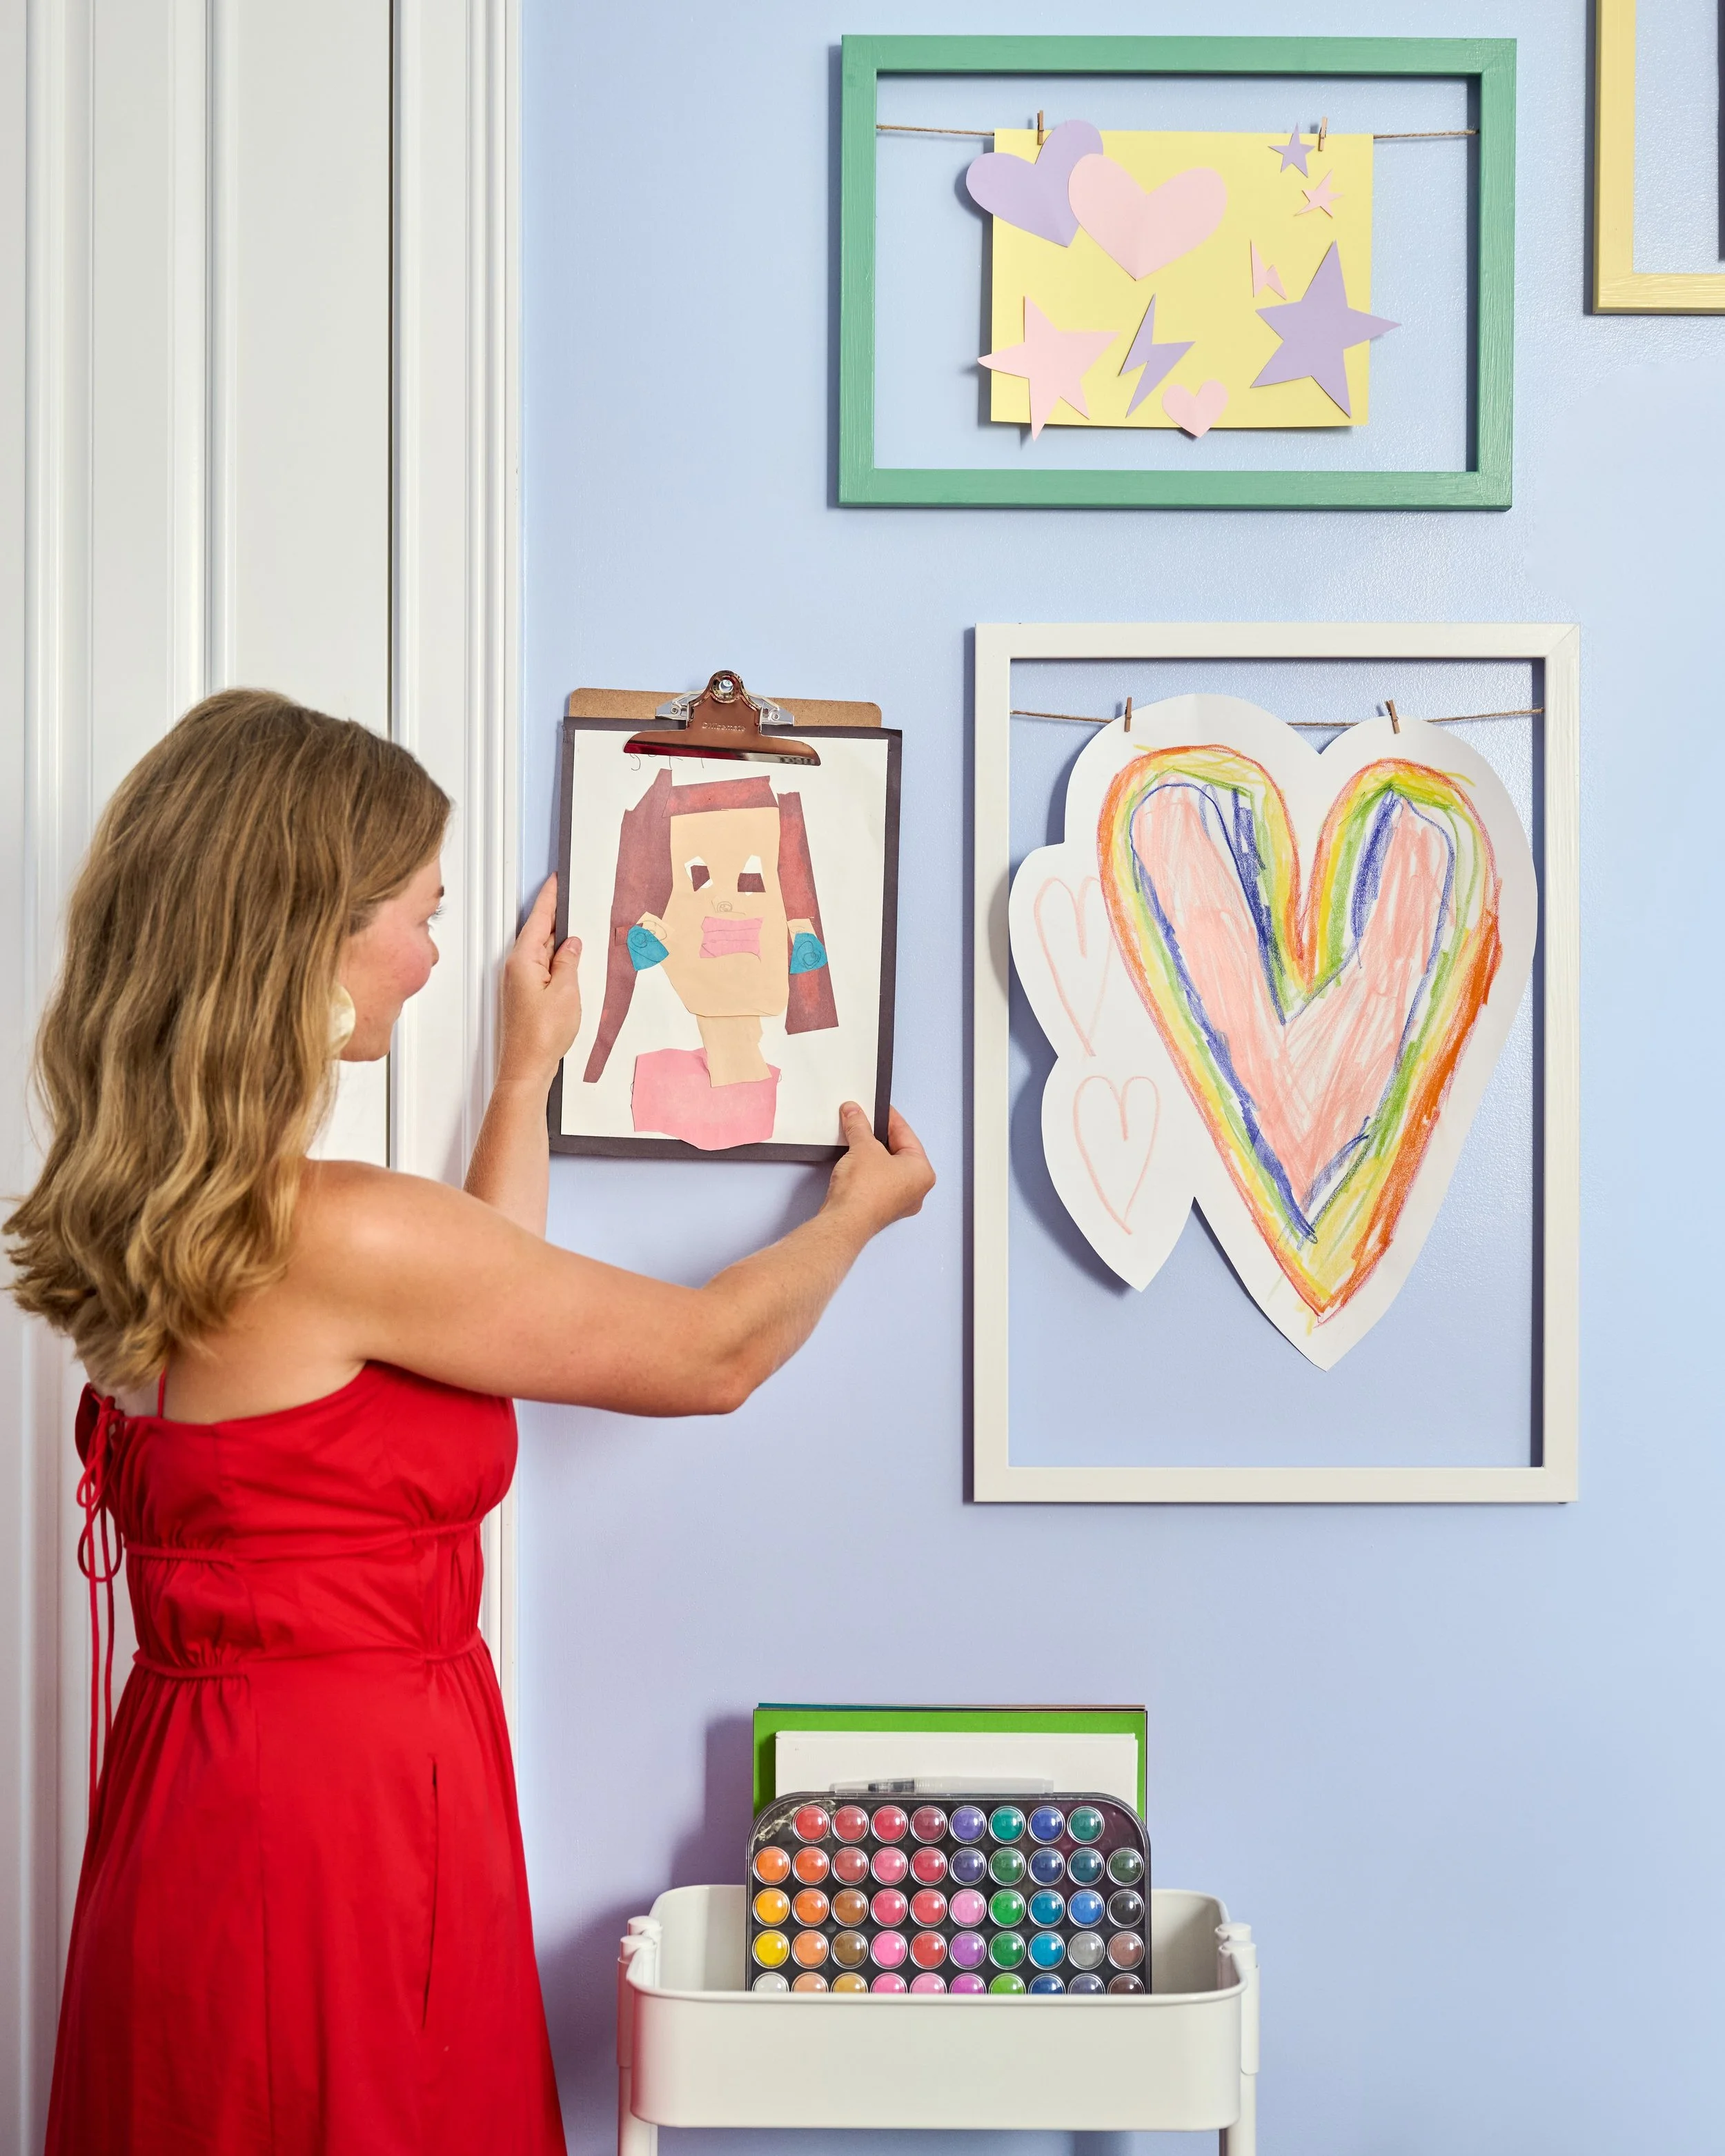
1) Decide how you want the frames arranged
Will it be a gallery presentation? A horizontal line? Something else? Decide if they’ll be landscape or portrait, whether you’ll want one string or two on each, and what colors you plan on painting them.
2) Remove the tabs that hold the glass in place
I bent them back and forth and wiggled them until they eventually slid out. If you have tougher frames, a pair of pliers should work well!
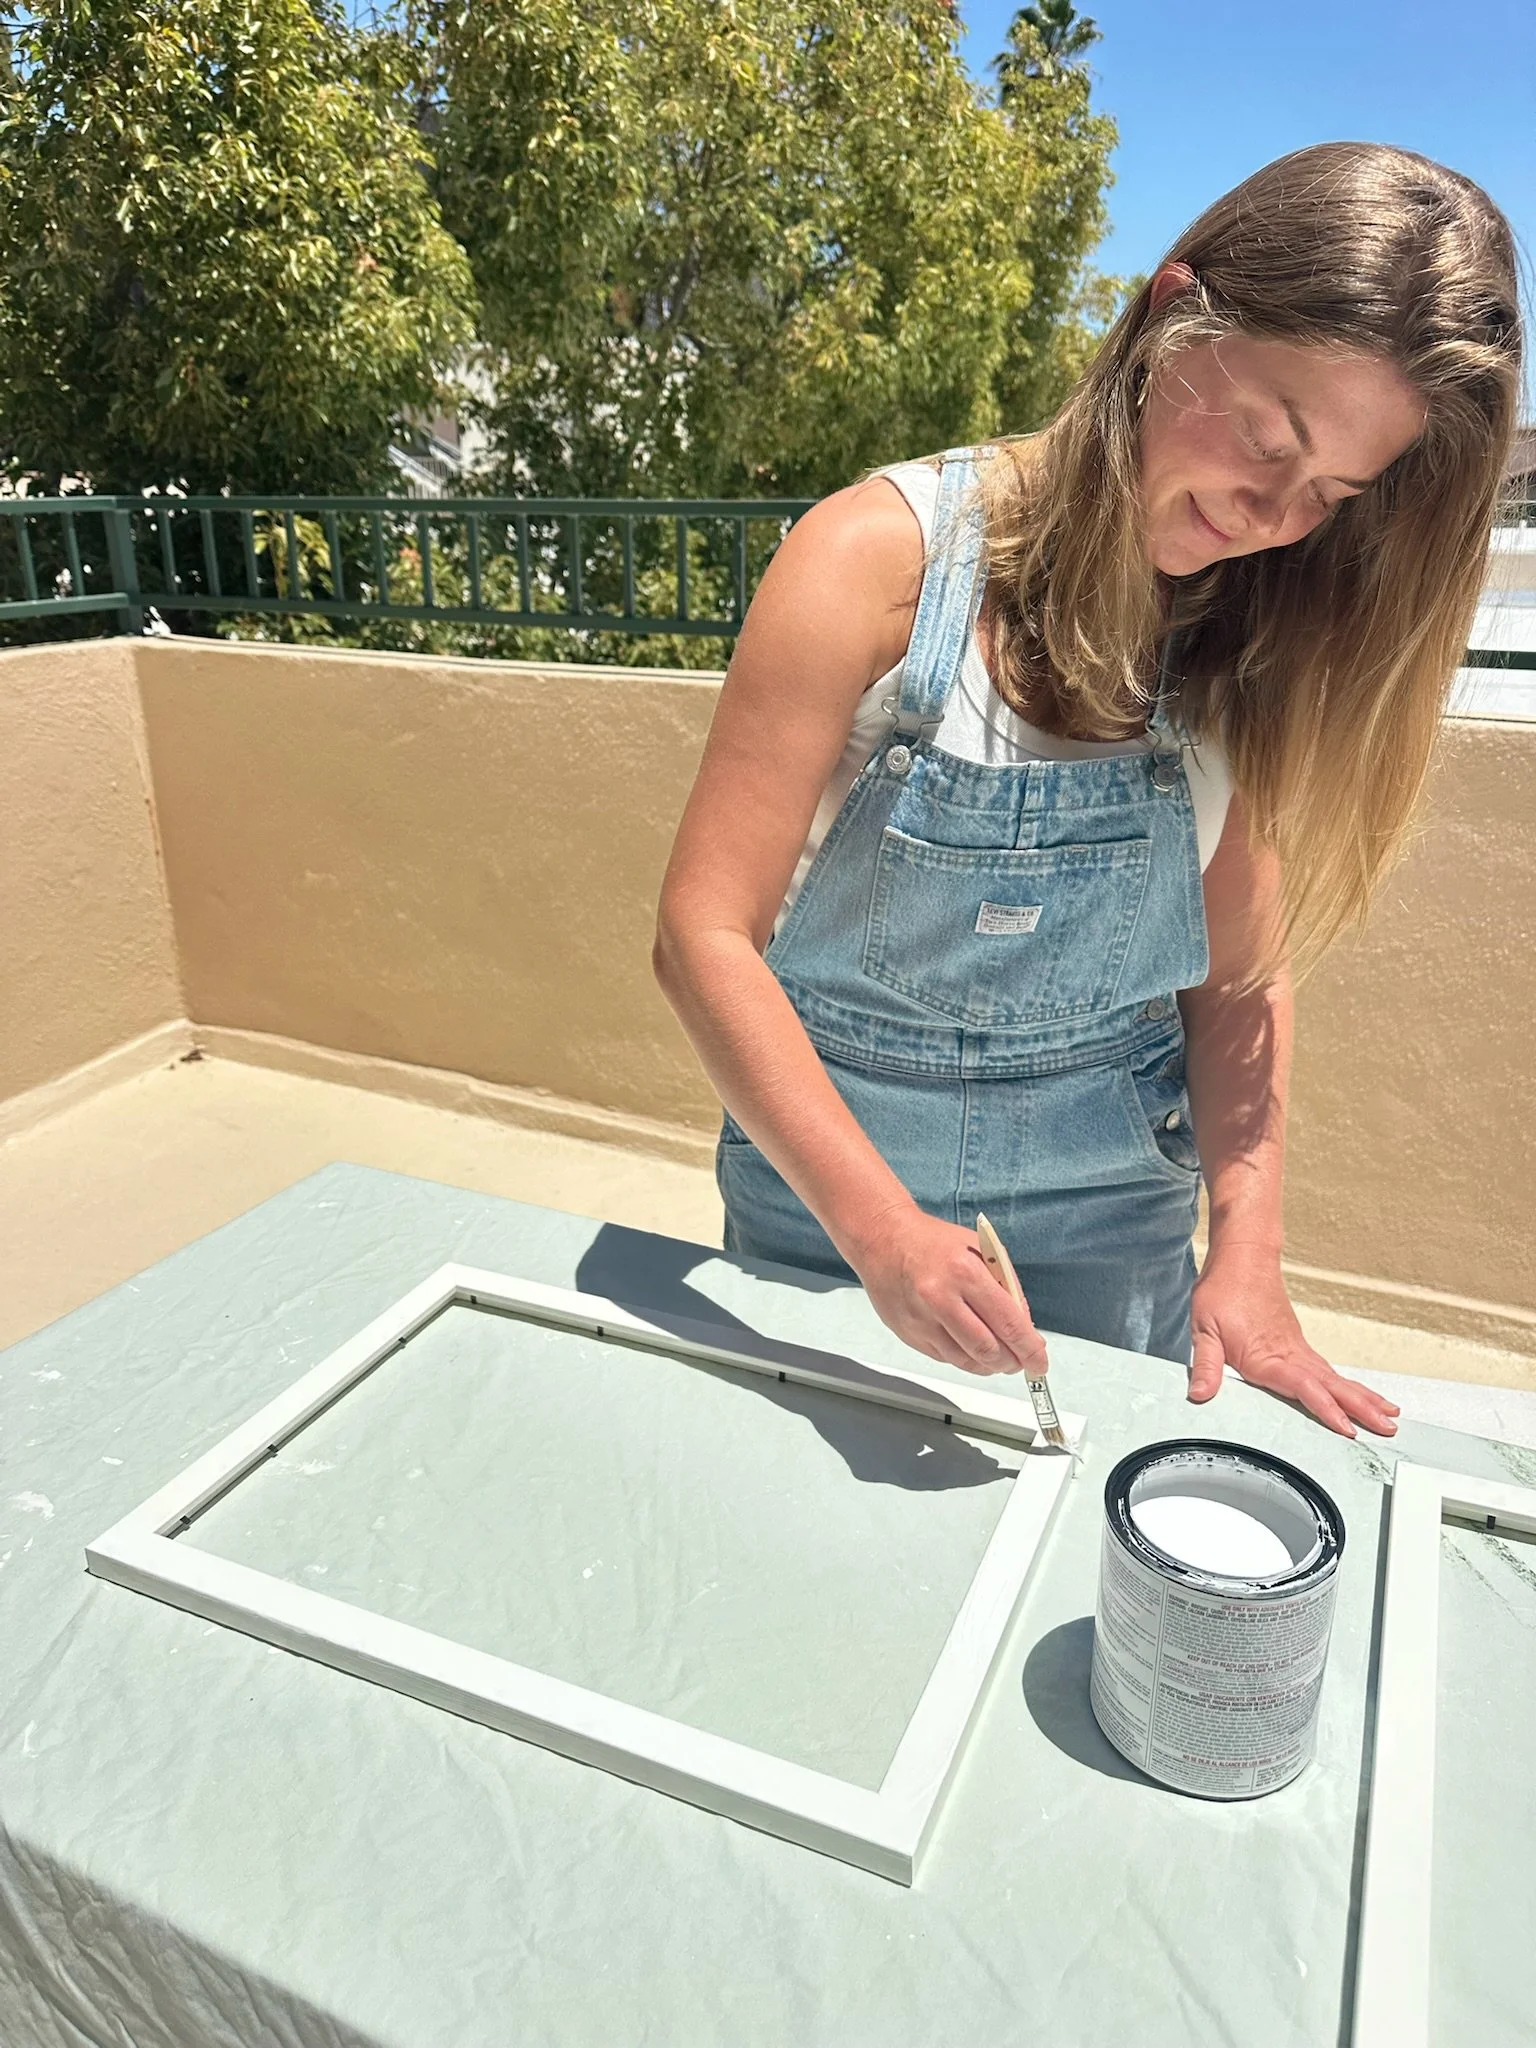
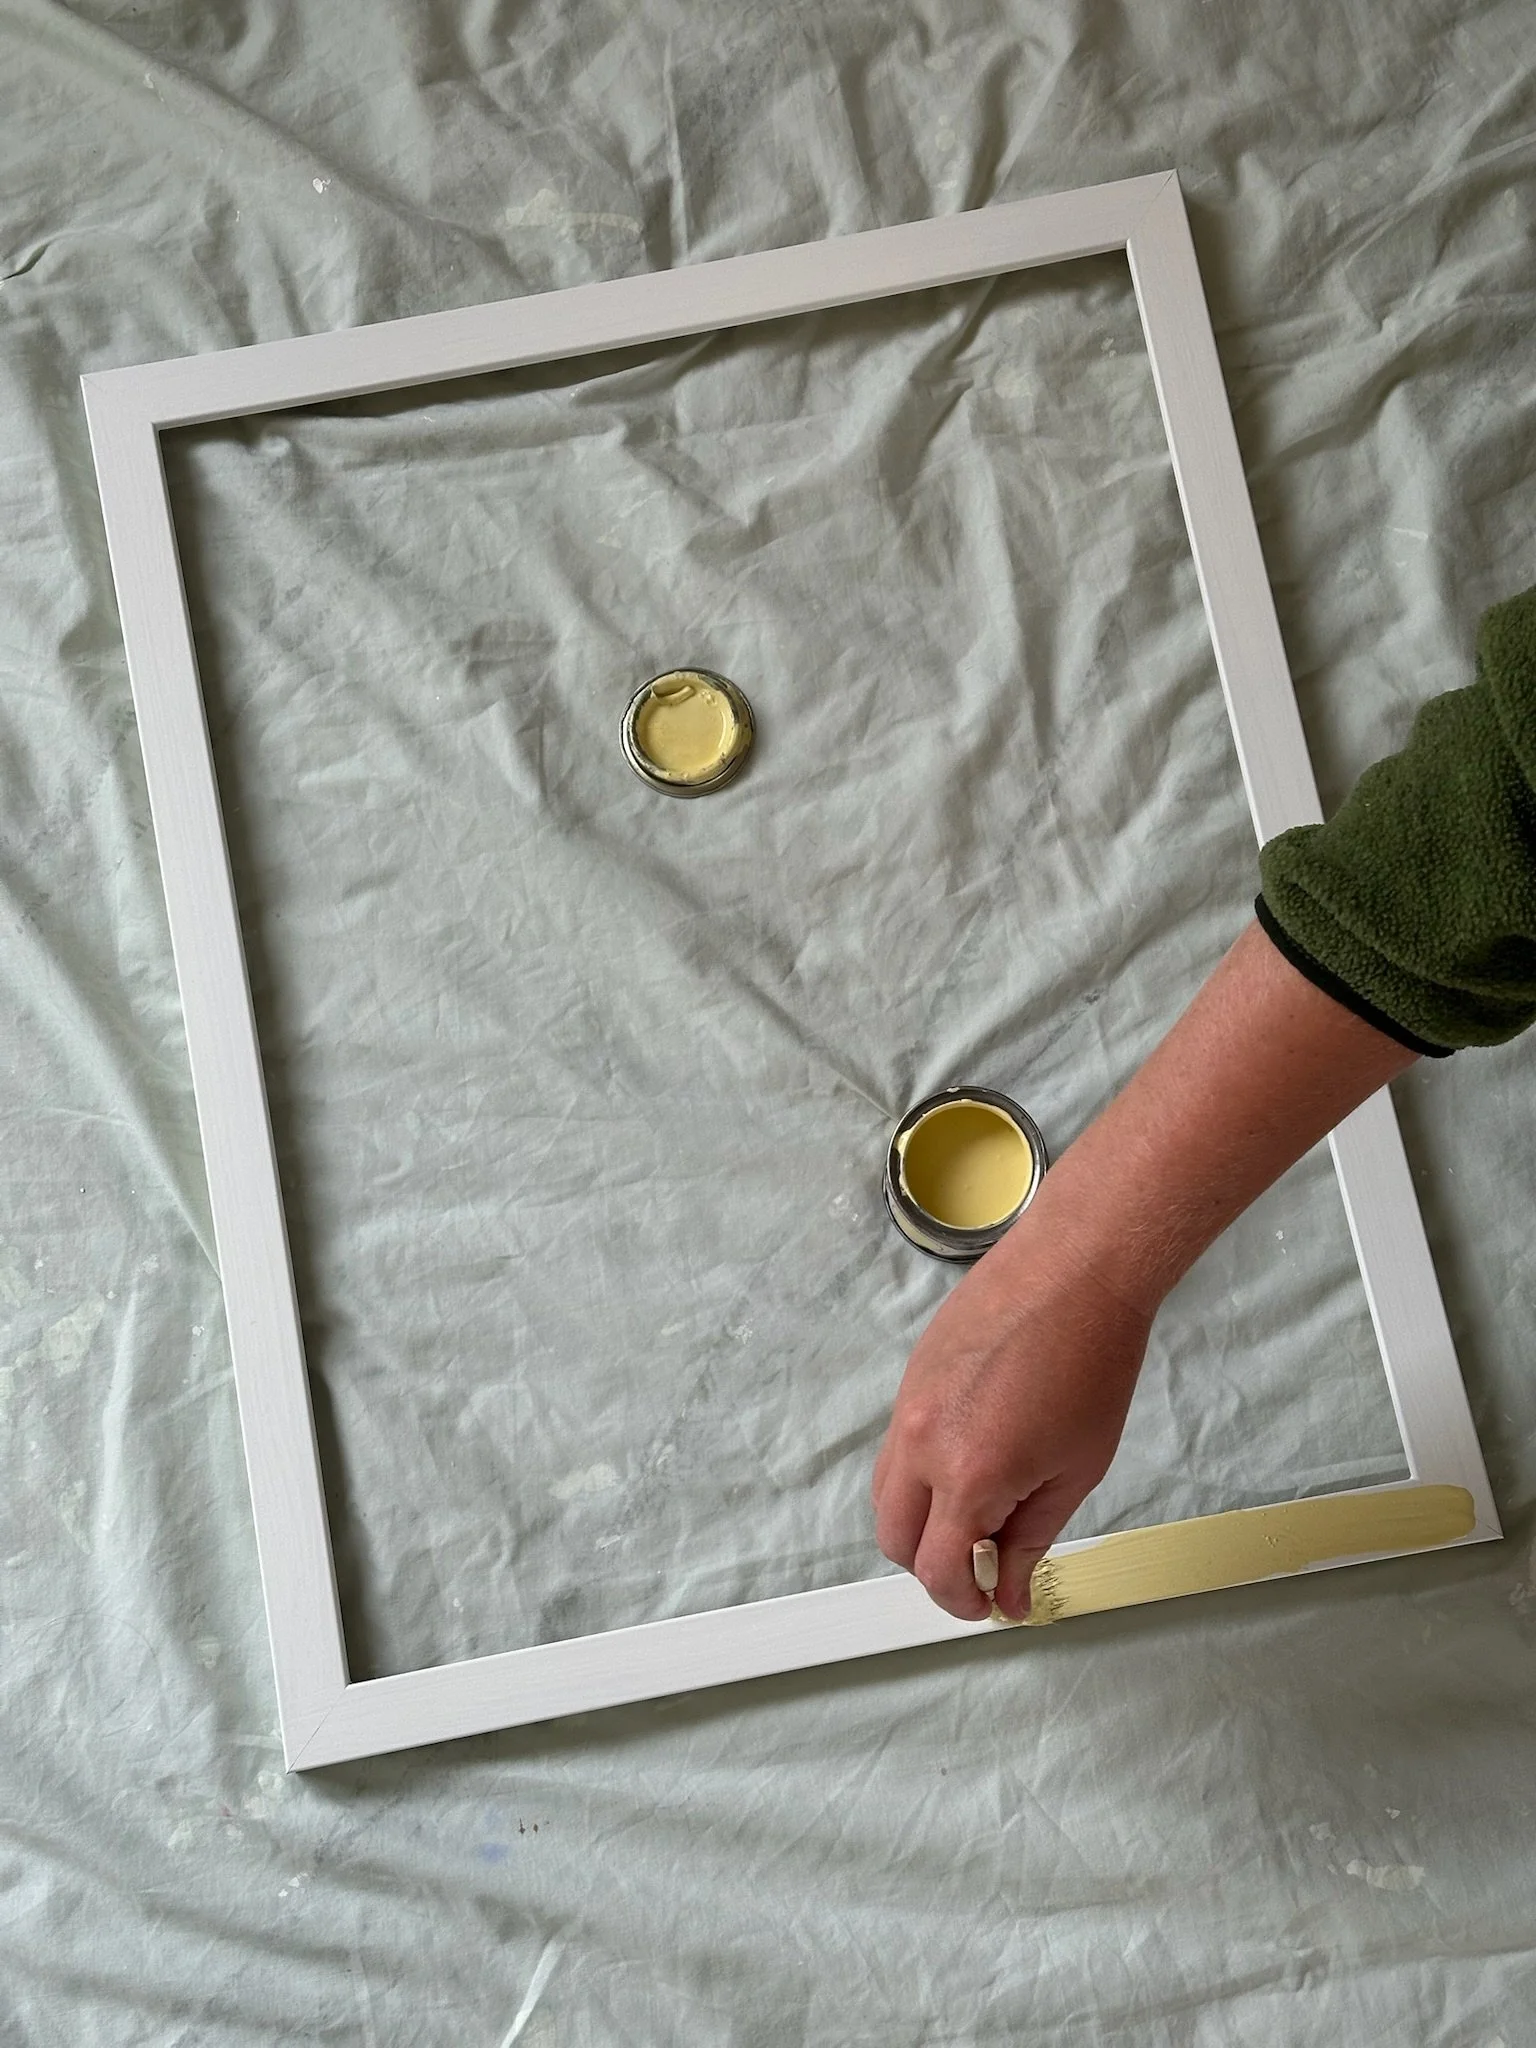
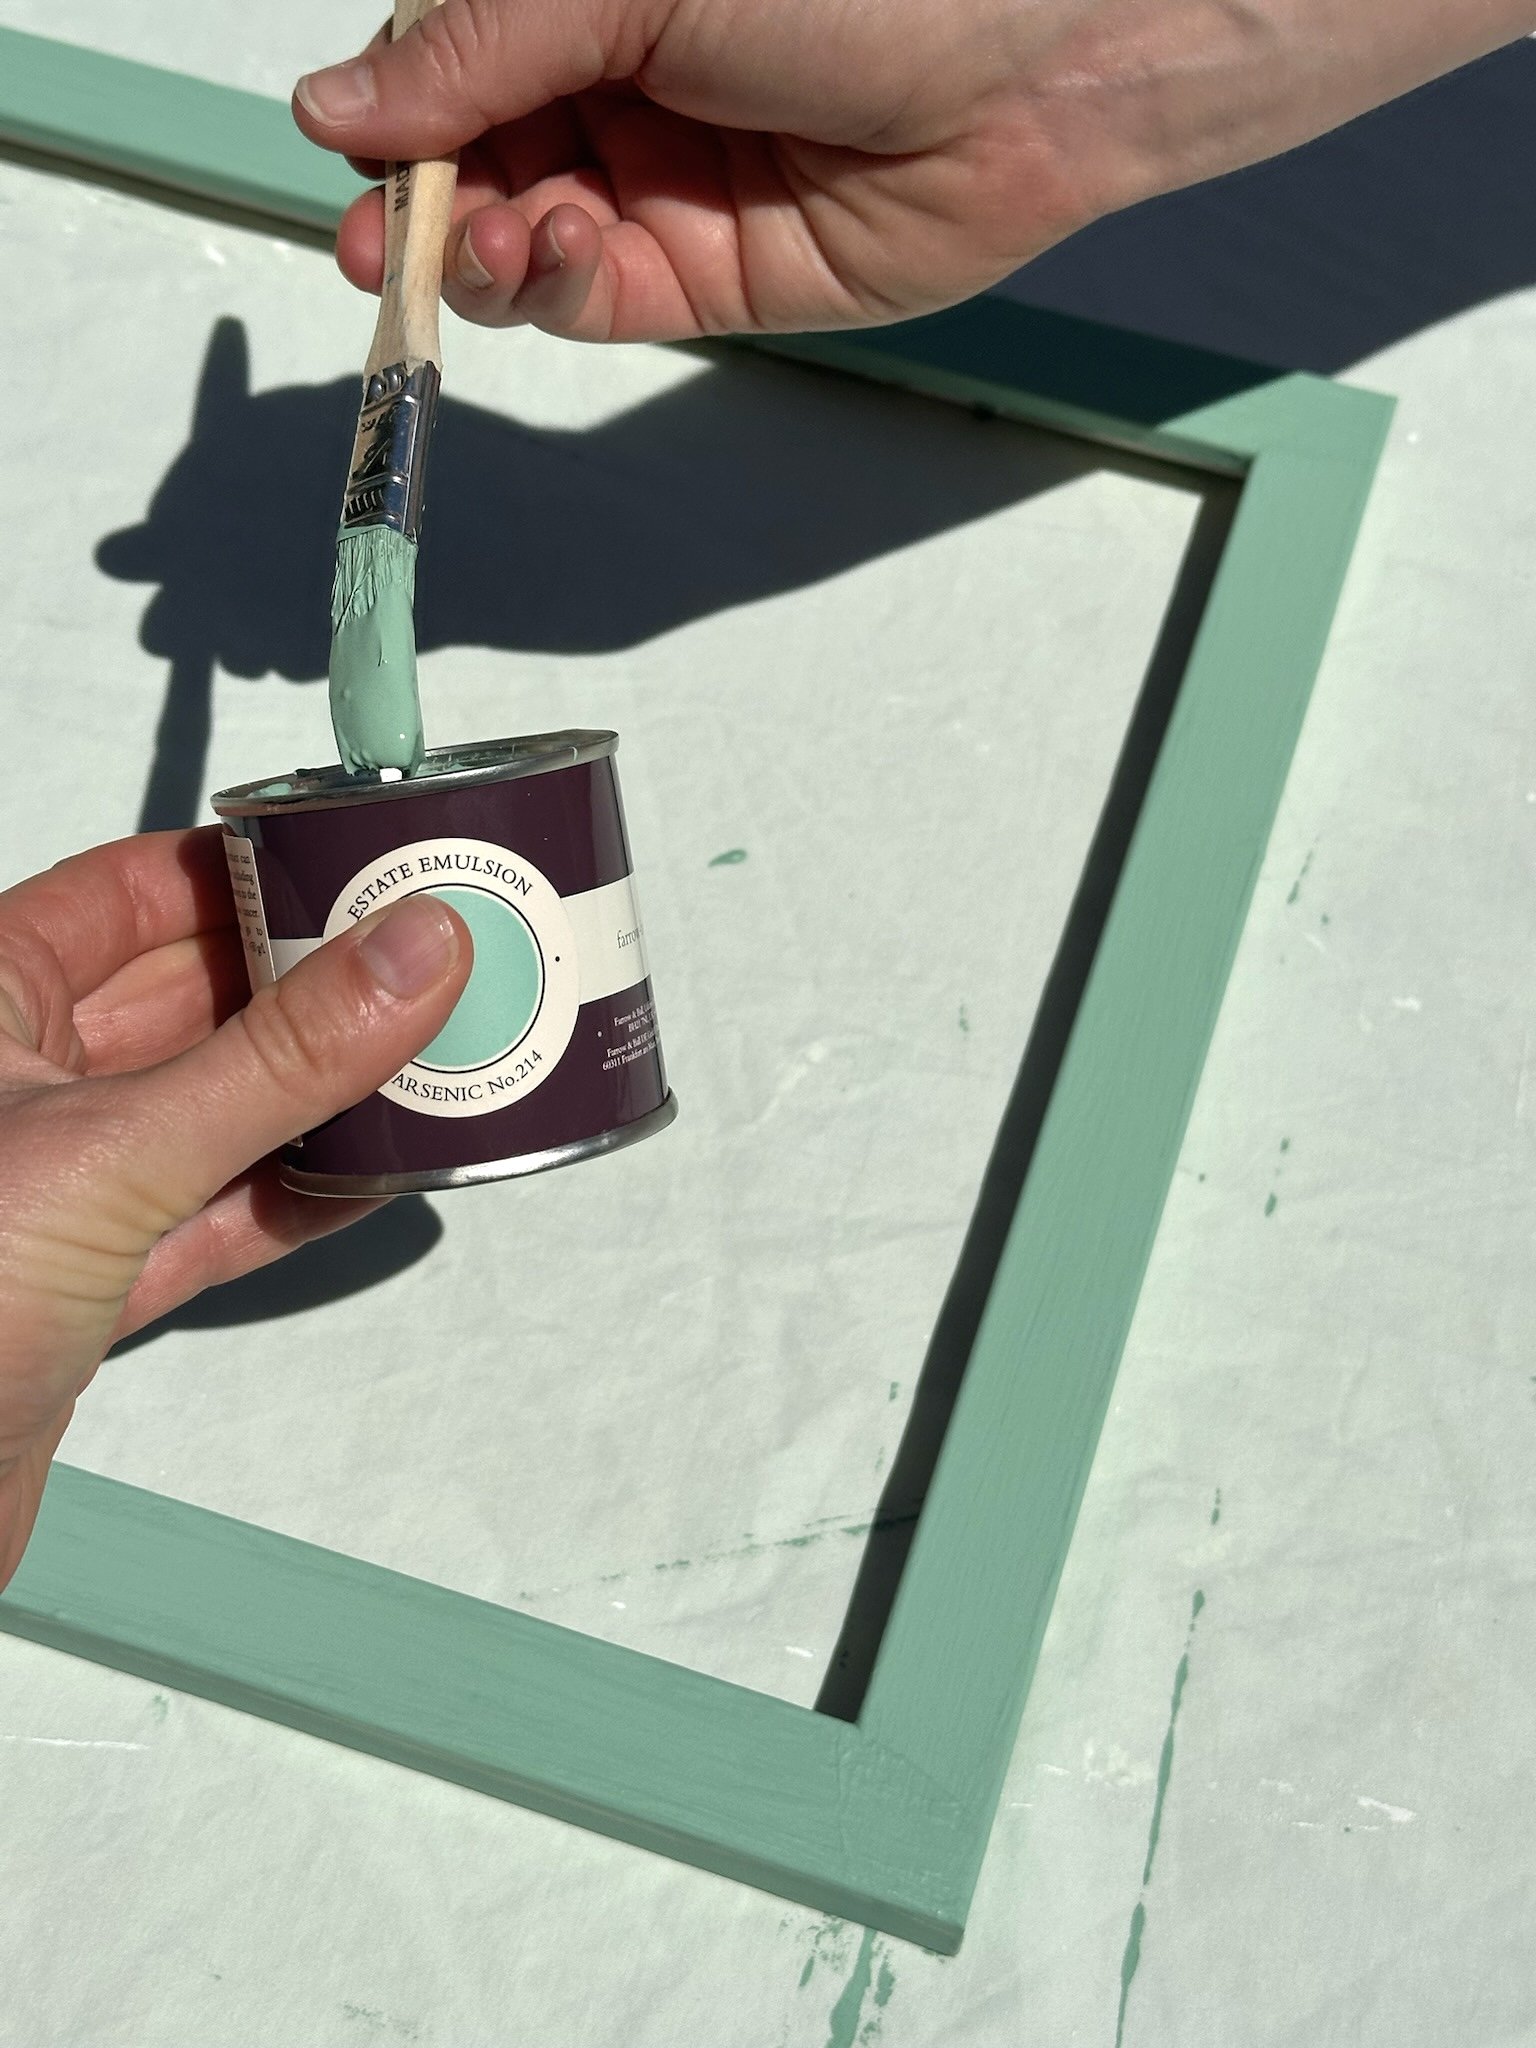
3) Prime, paint, seal
Priming isn’t ~totally~ necessary, but our frames were laminate, not wood, so we wanted to make sure the paint would stick well. You may need two coats of paint, up to you. Finally! Apply a thin layer of a hardening top coat for durability.
4) Attach the twine
I used a staple gun! Depending on the size of your frame, you may be able to include two pieces of twine on one.
6) Hang
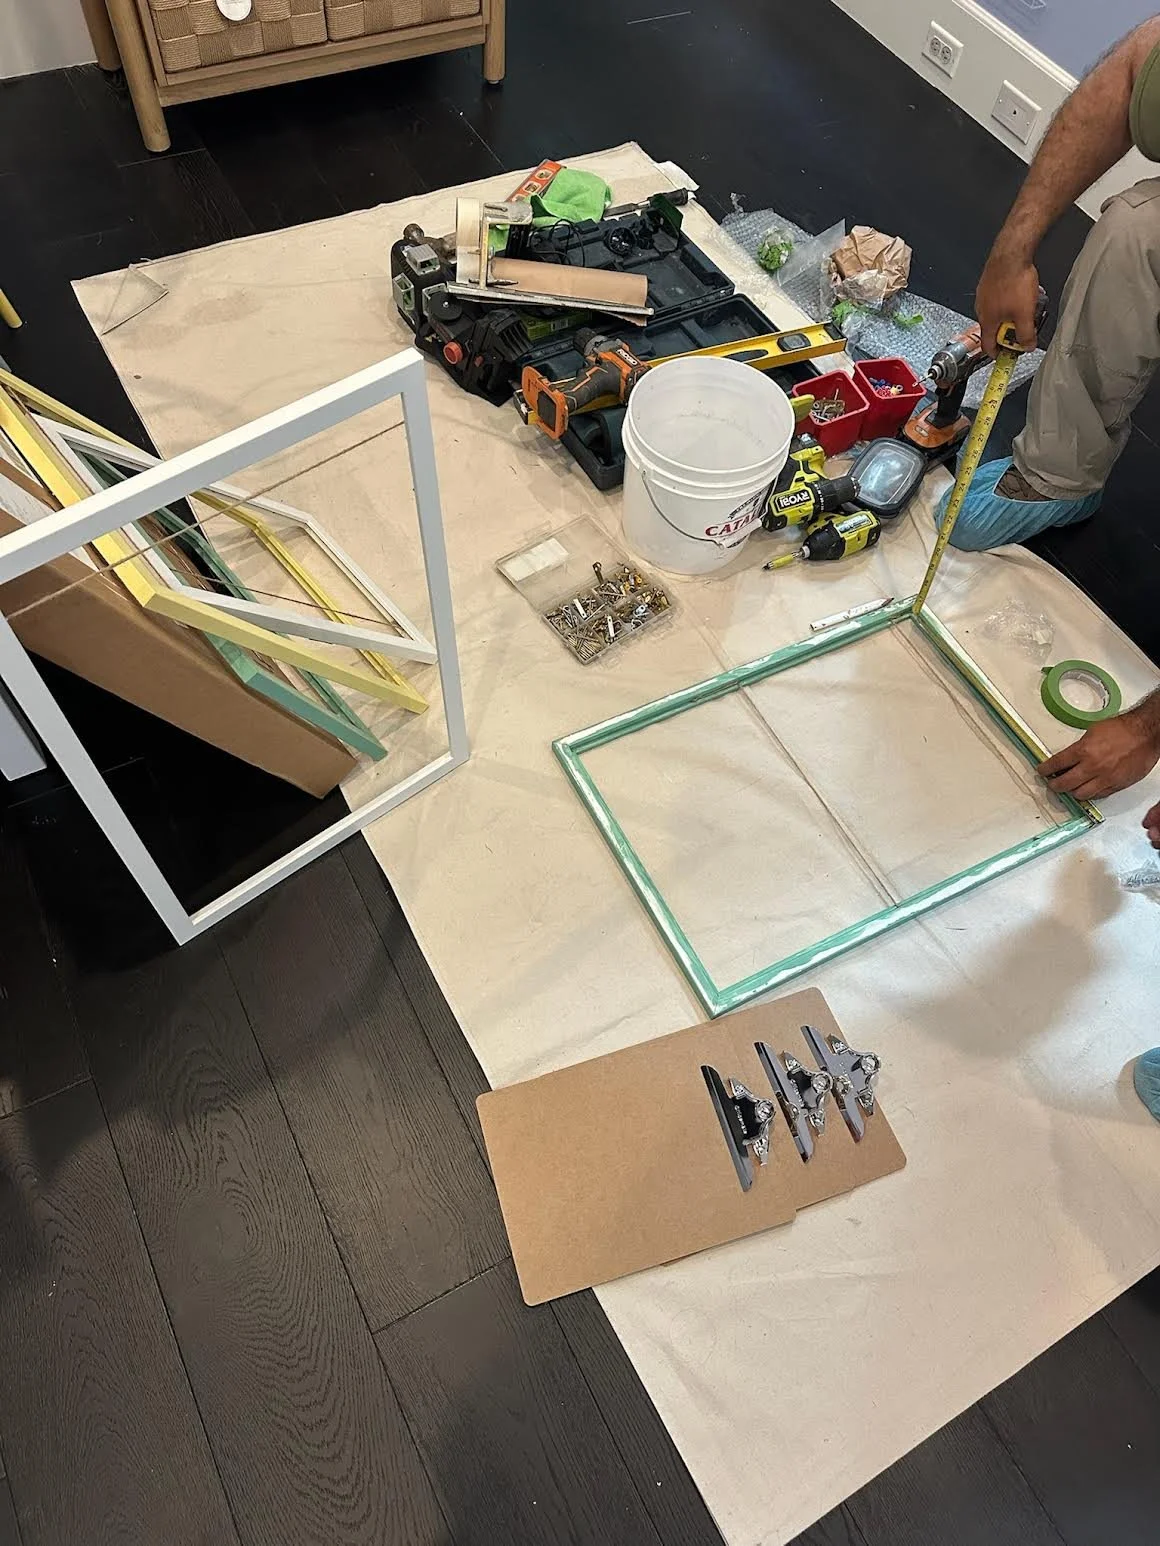
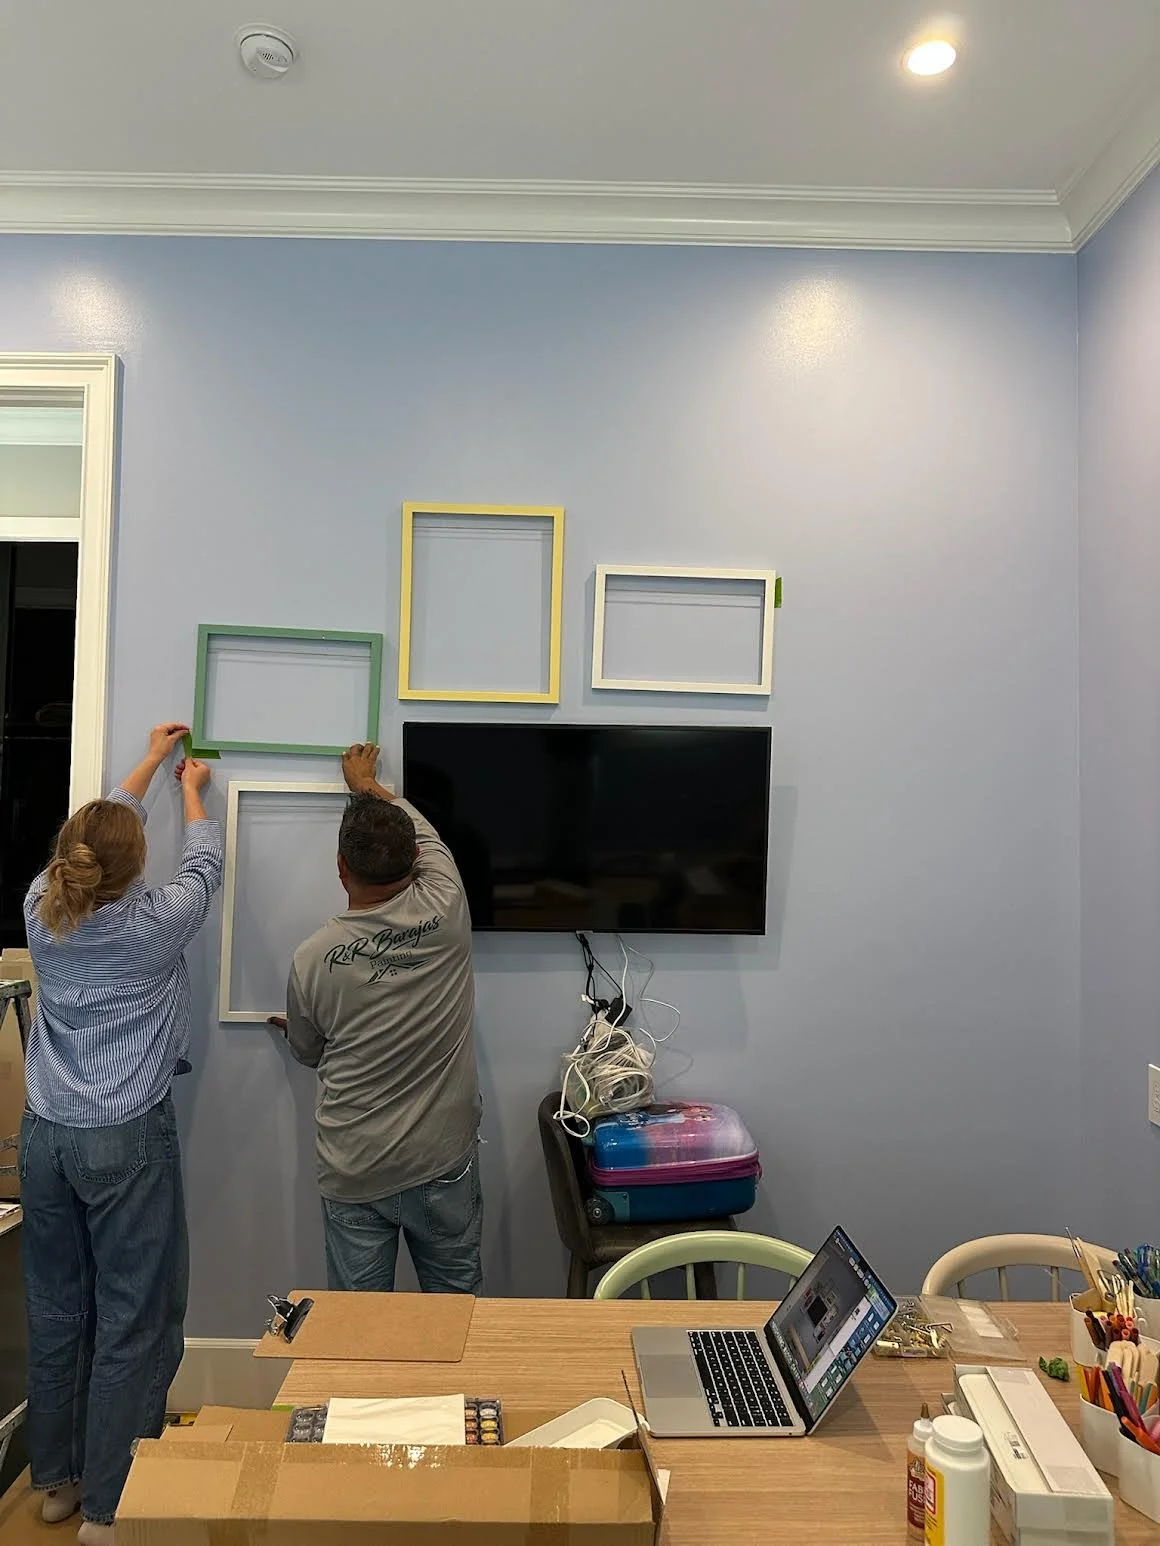
It took a few of us to measure, eyeball it, and put tape up where each frame should go. If you’re using frames with prongs, I’d recommend putting in two nails so it doesn’t swing and look unlevel when art is replaced. It’s better to not have to worry about it.
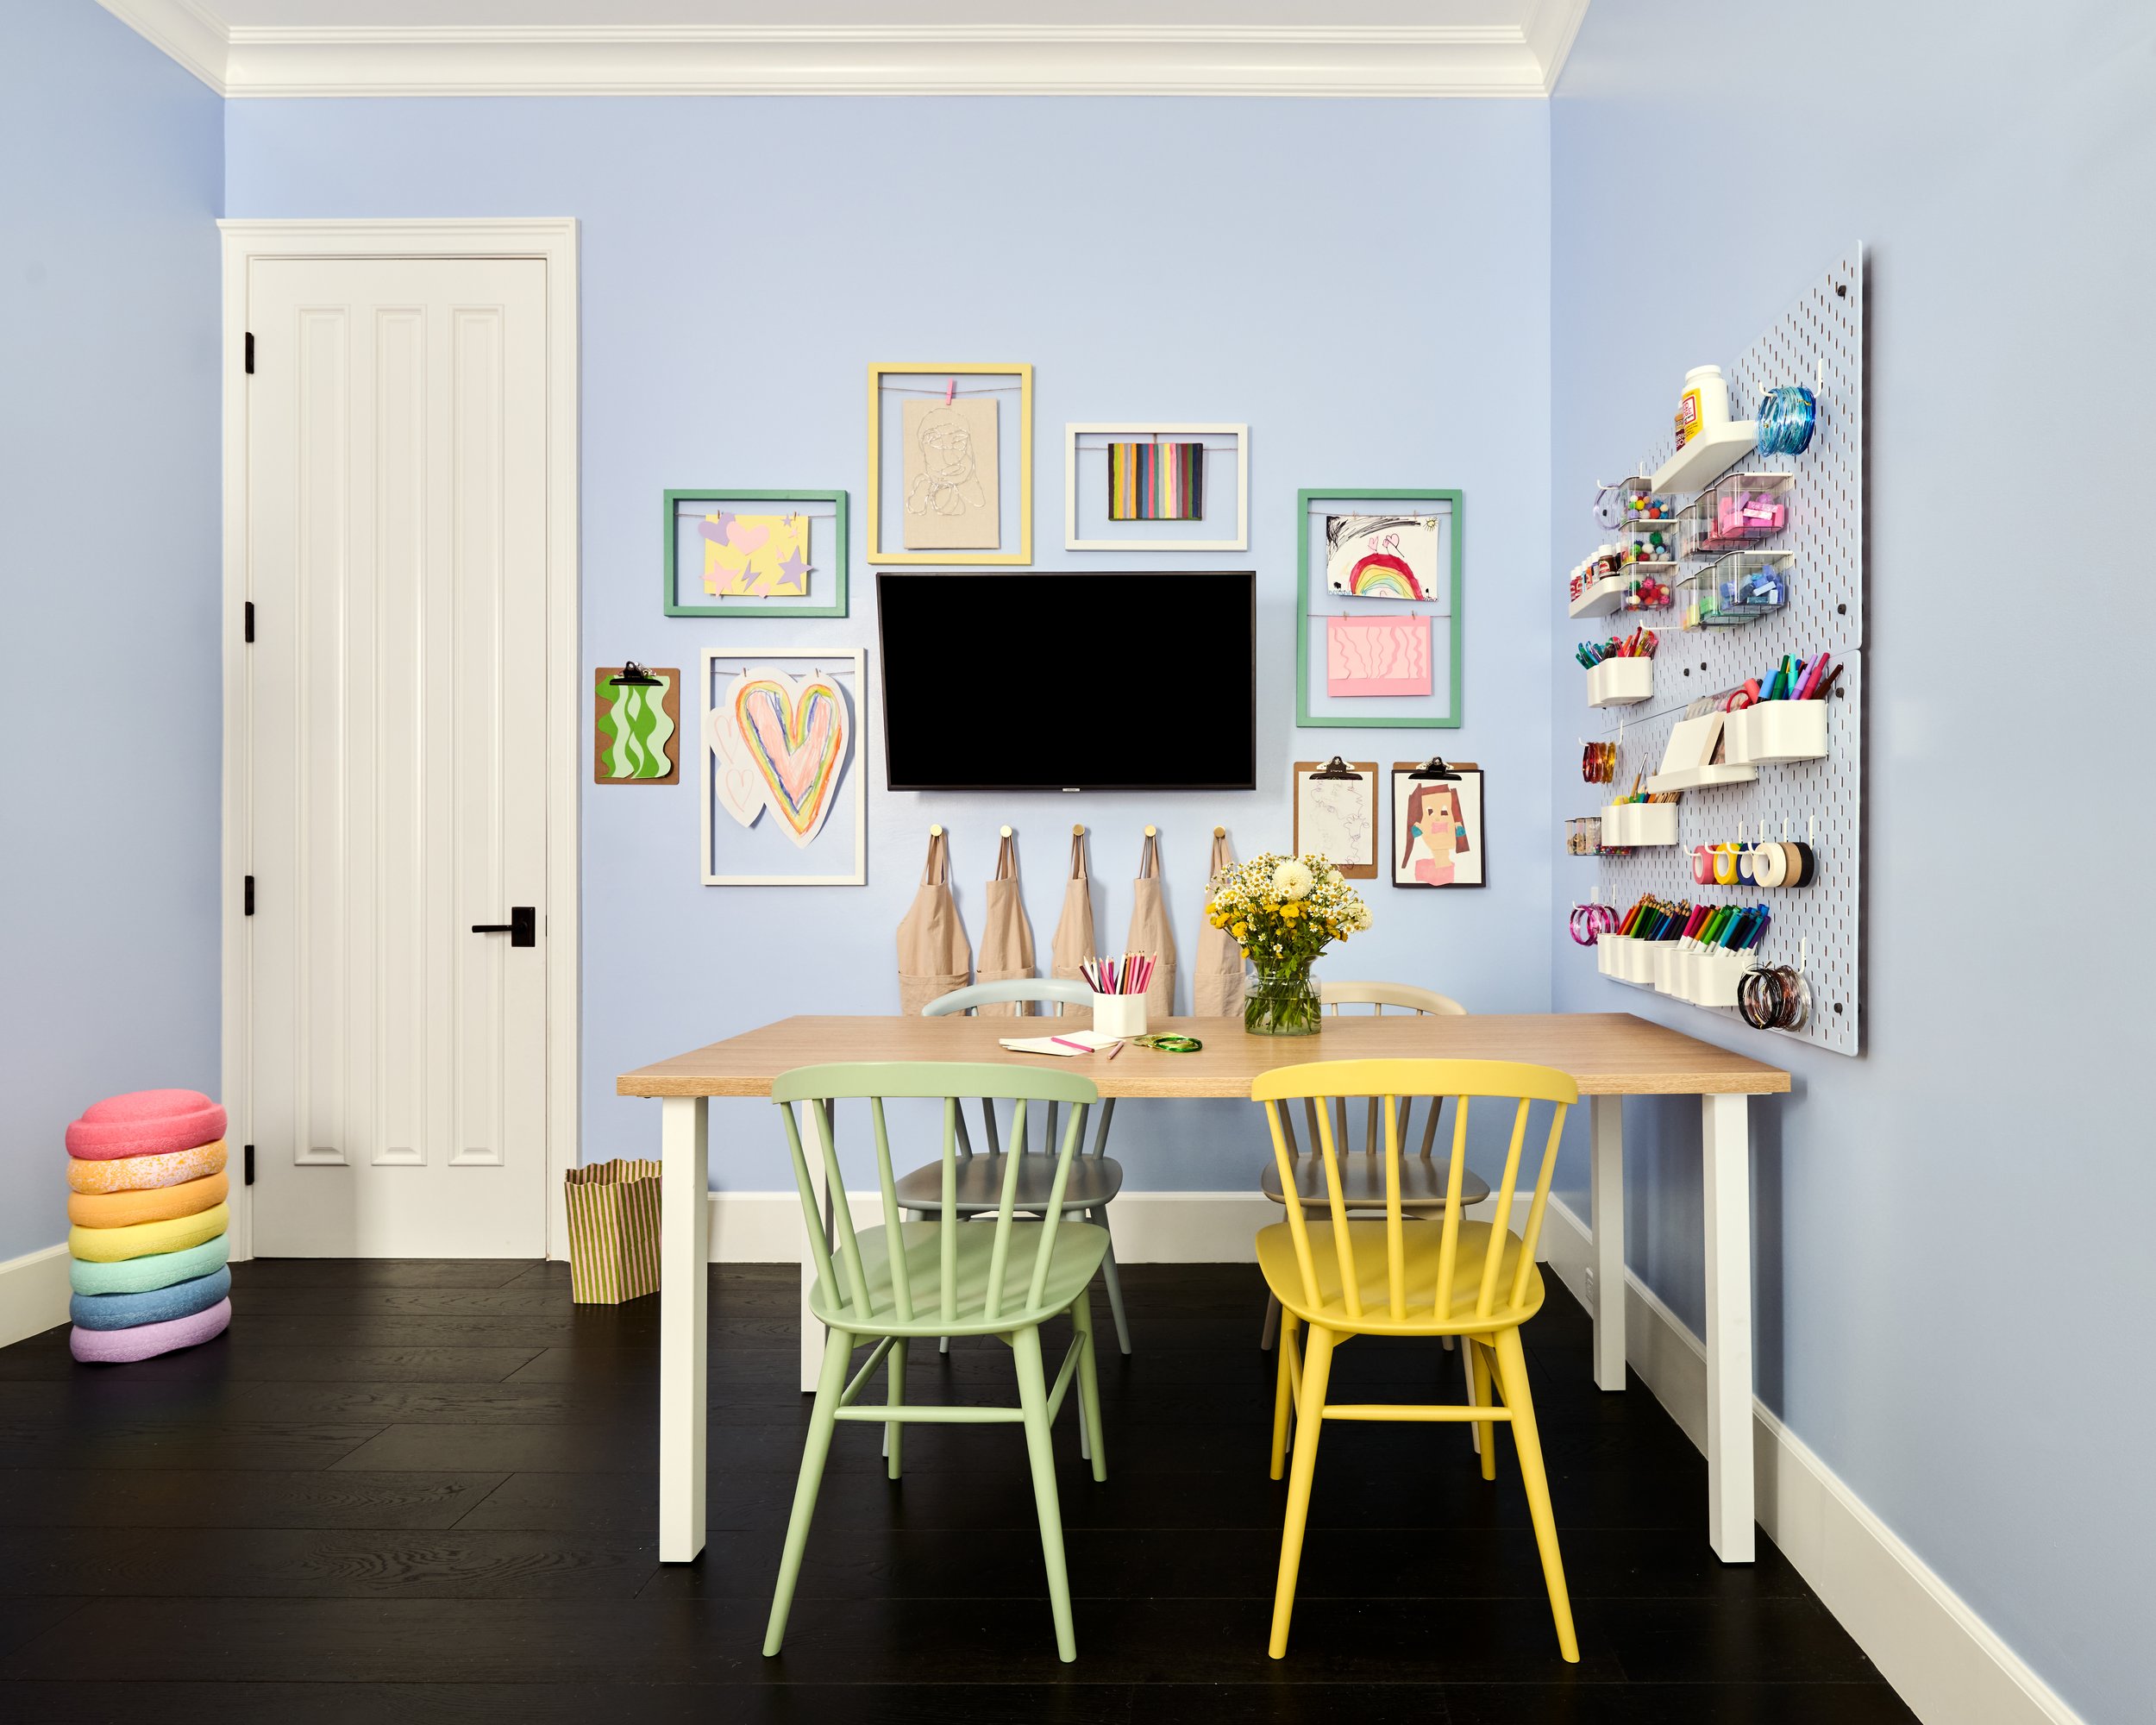
Finished Product
Ready to build your Little Kingdom?
Whether it’s a playroom, bedroom or nursery, we’re just a click away :) Fill out the intake form below so we can get dreamin’!