

How to Make a Color Drenched Pegboard
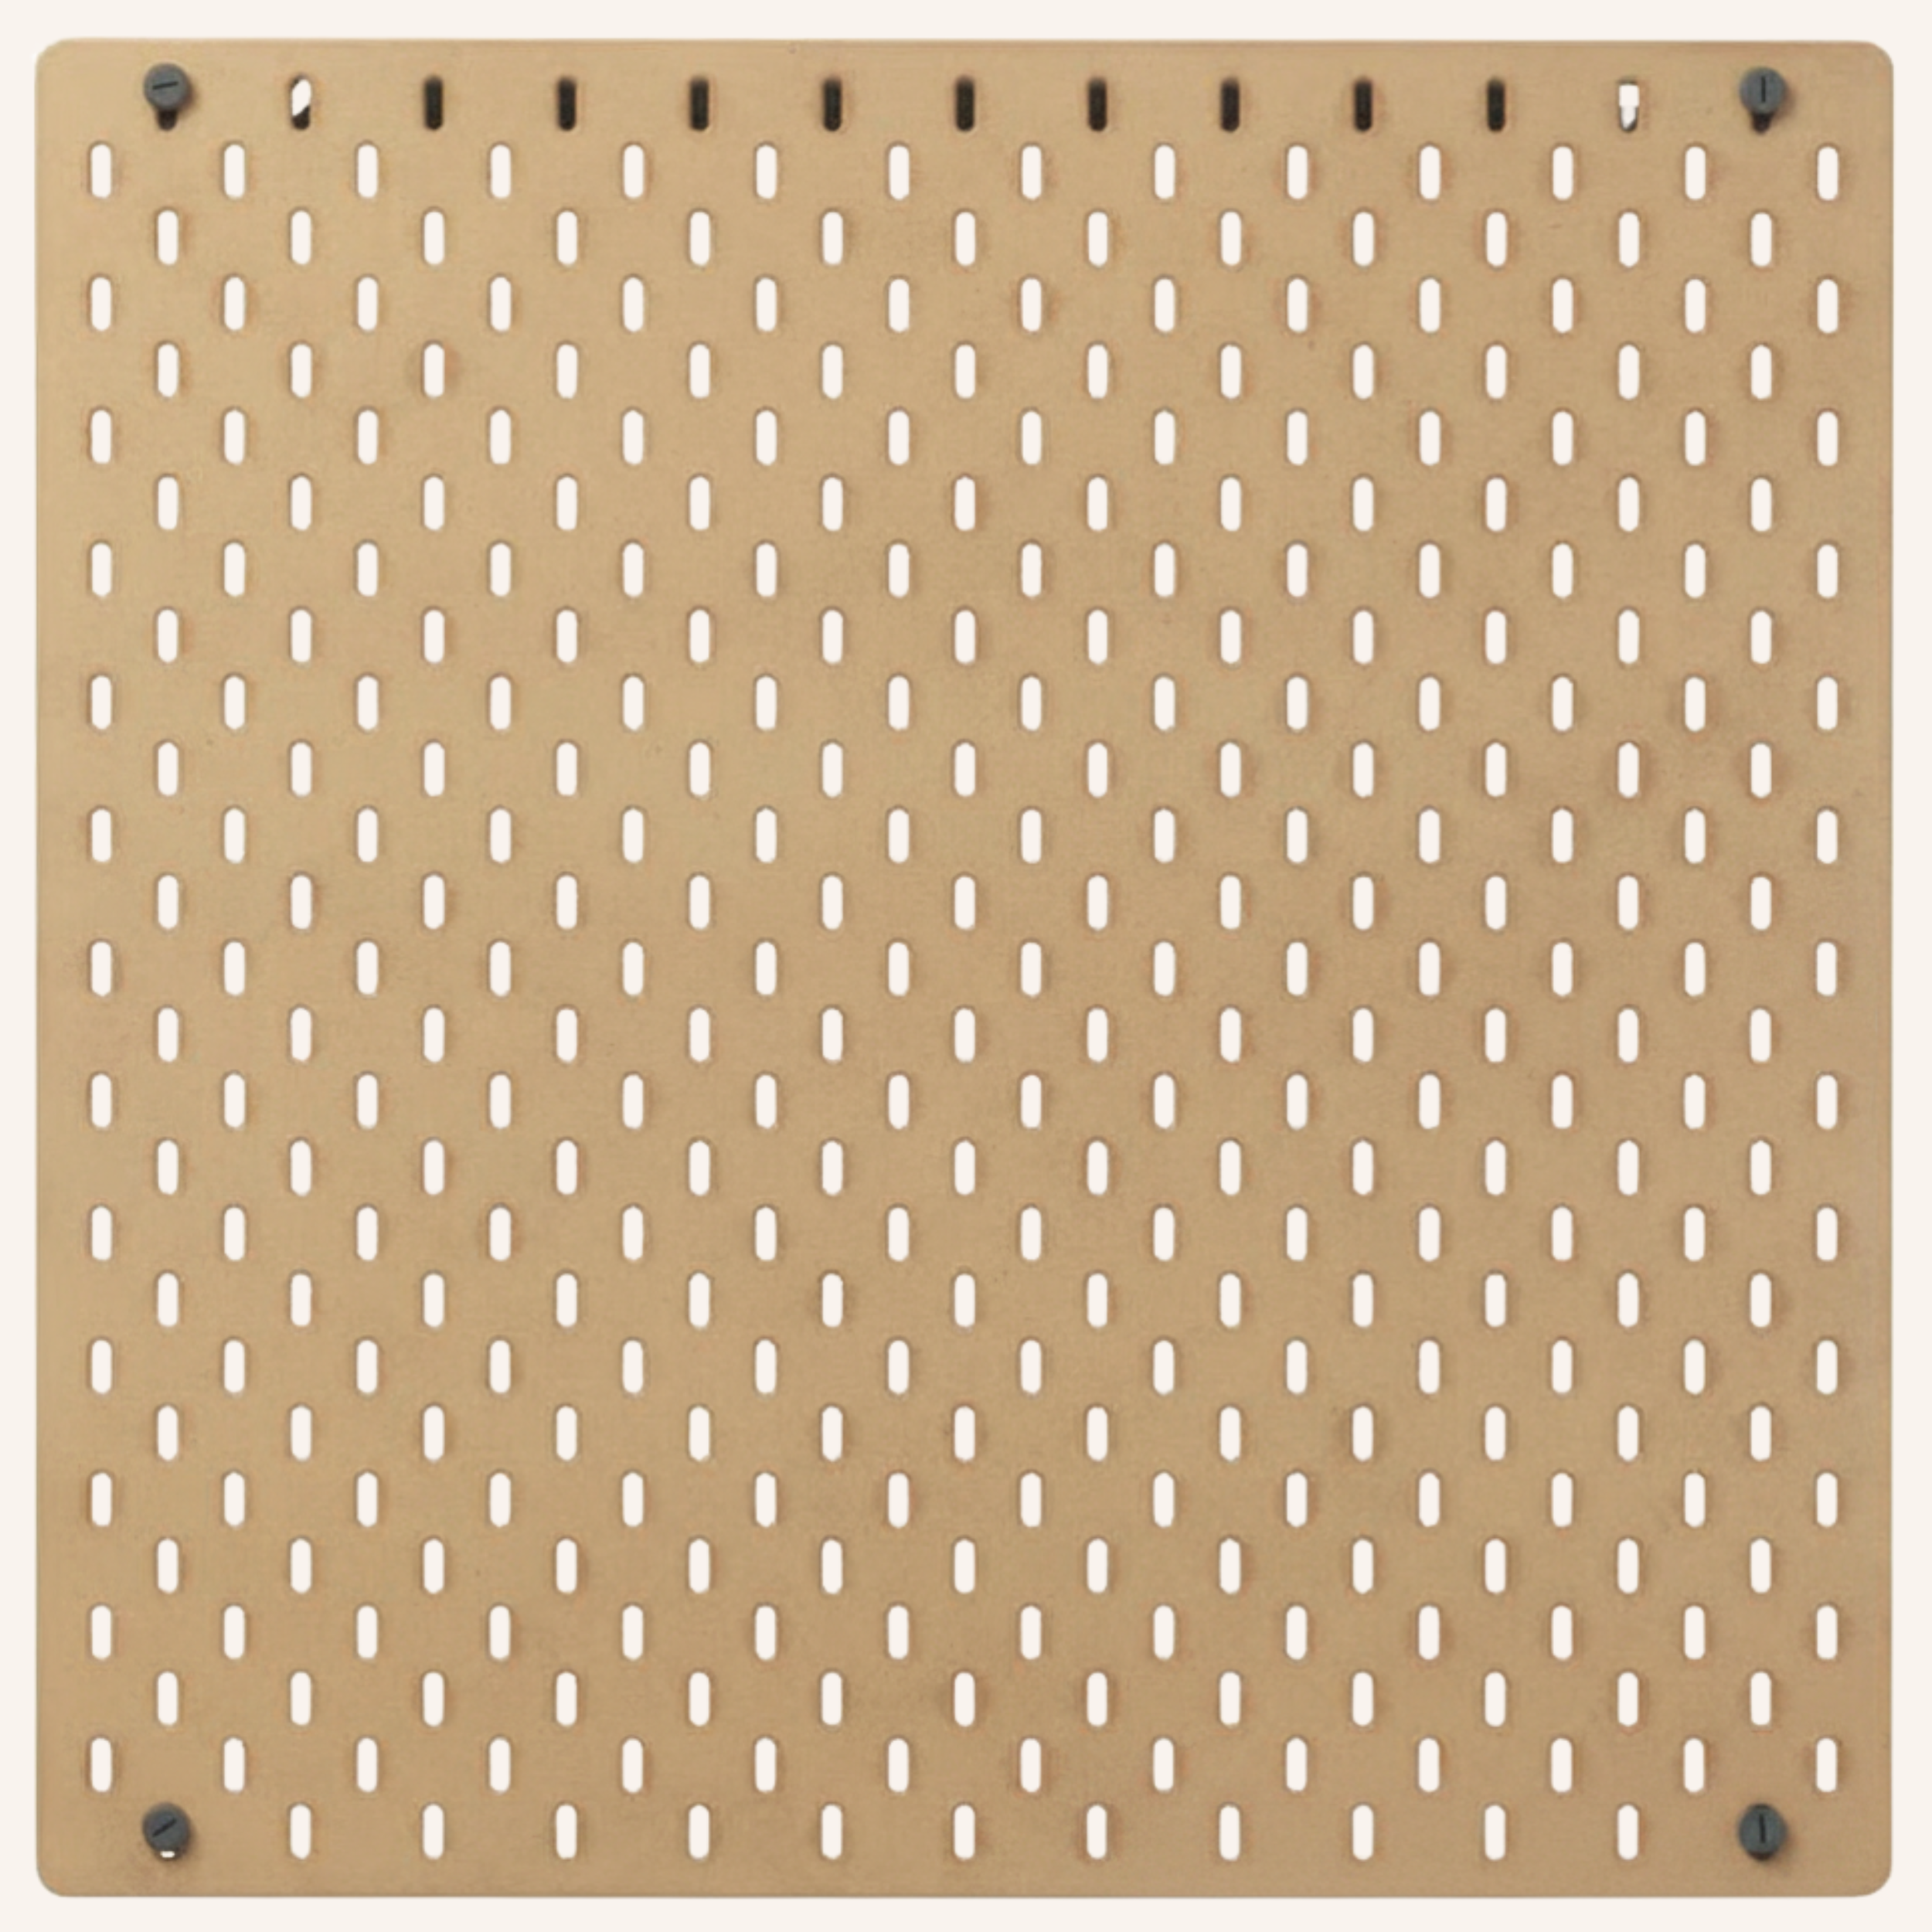
1) Purchase Skadis Pegboard(s) from Ikea
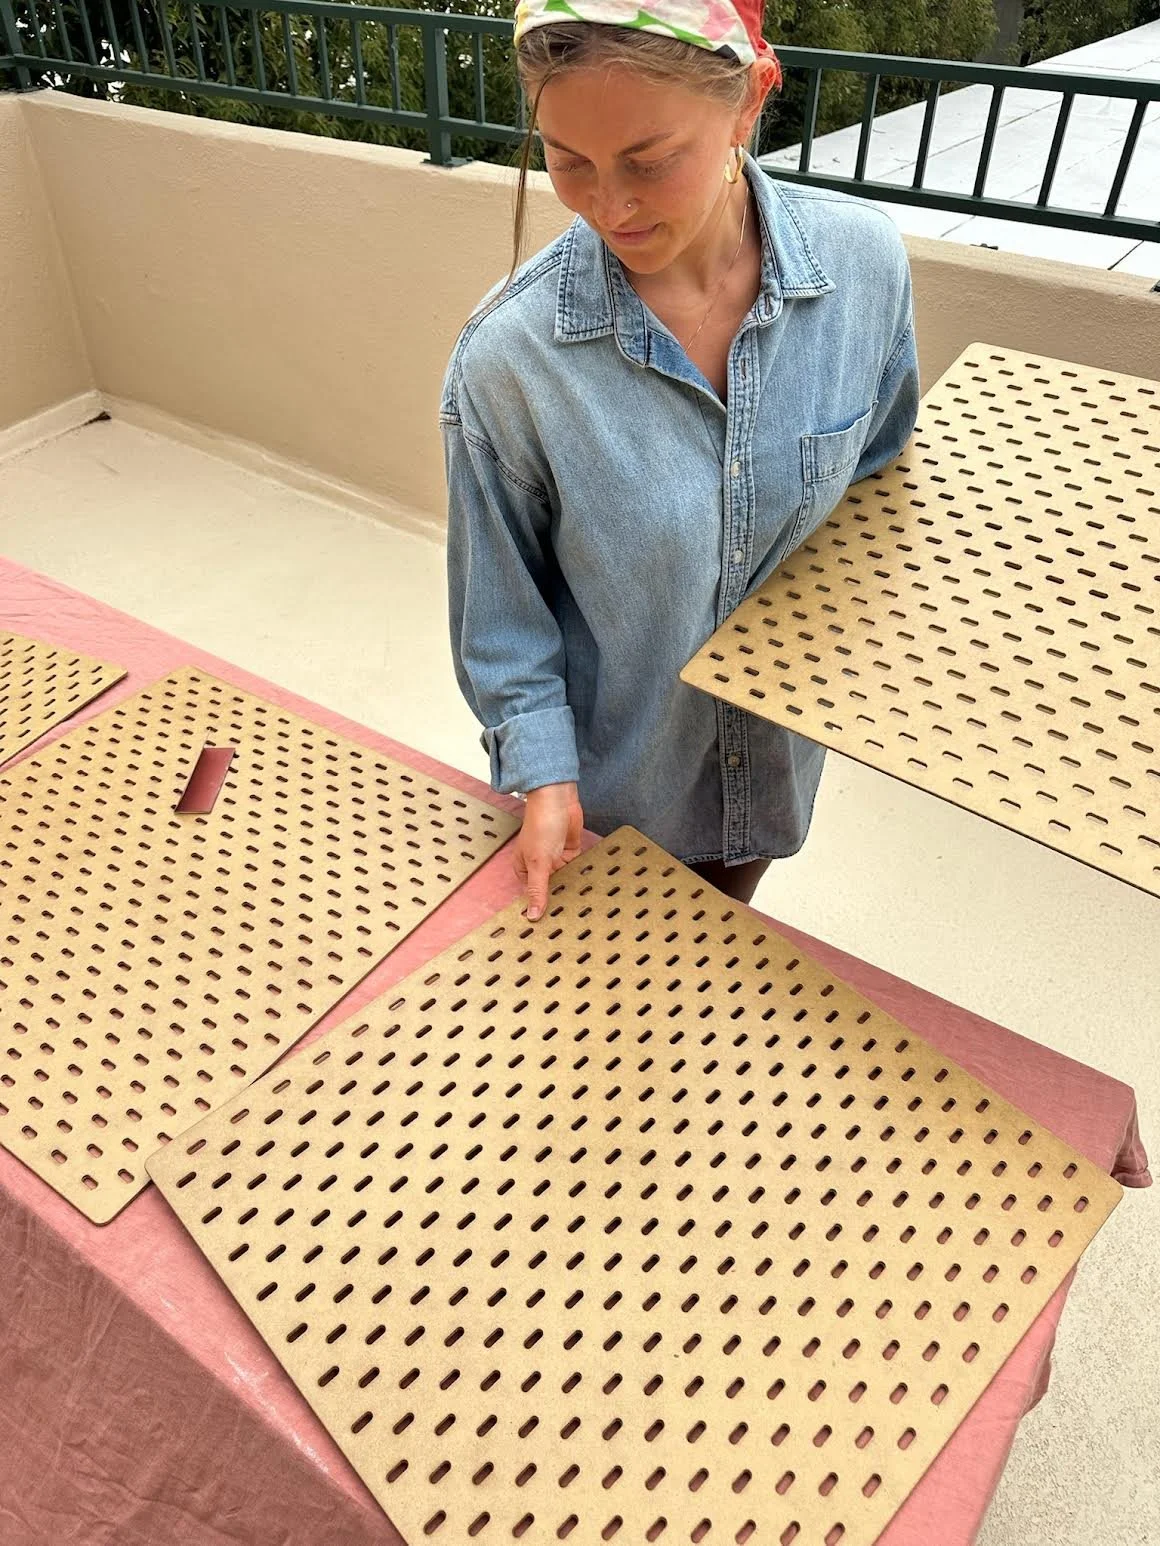
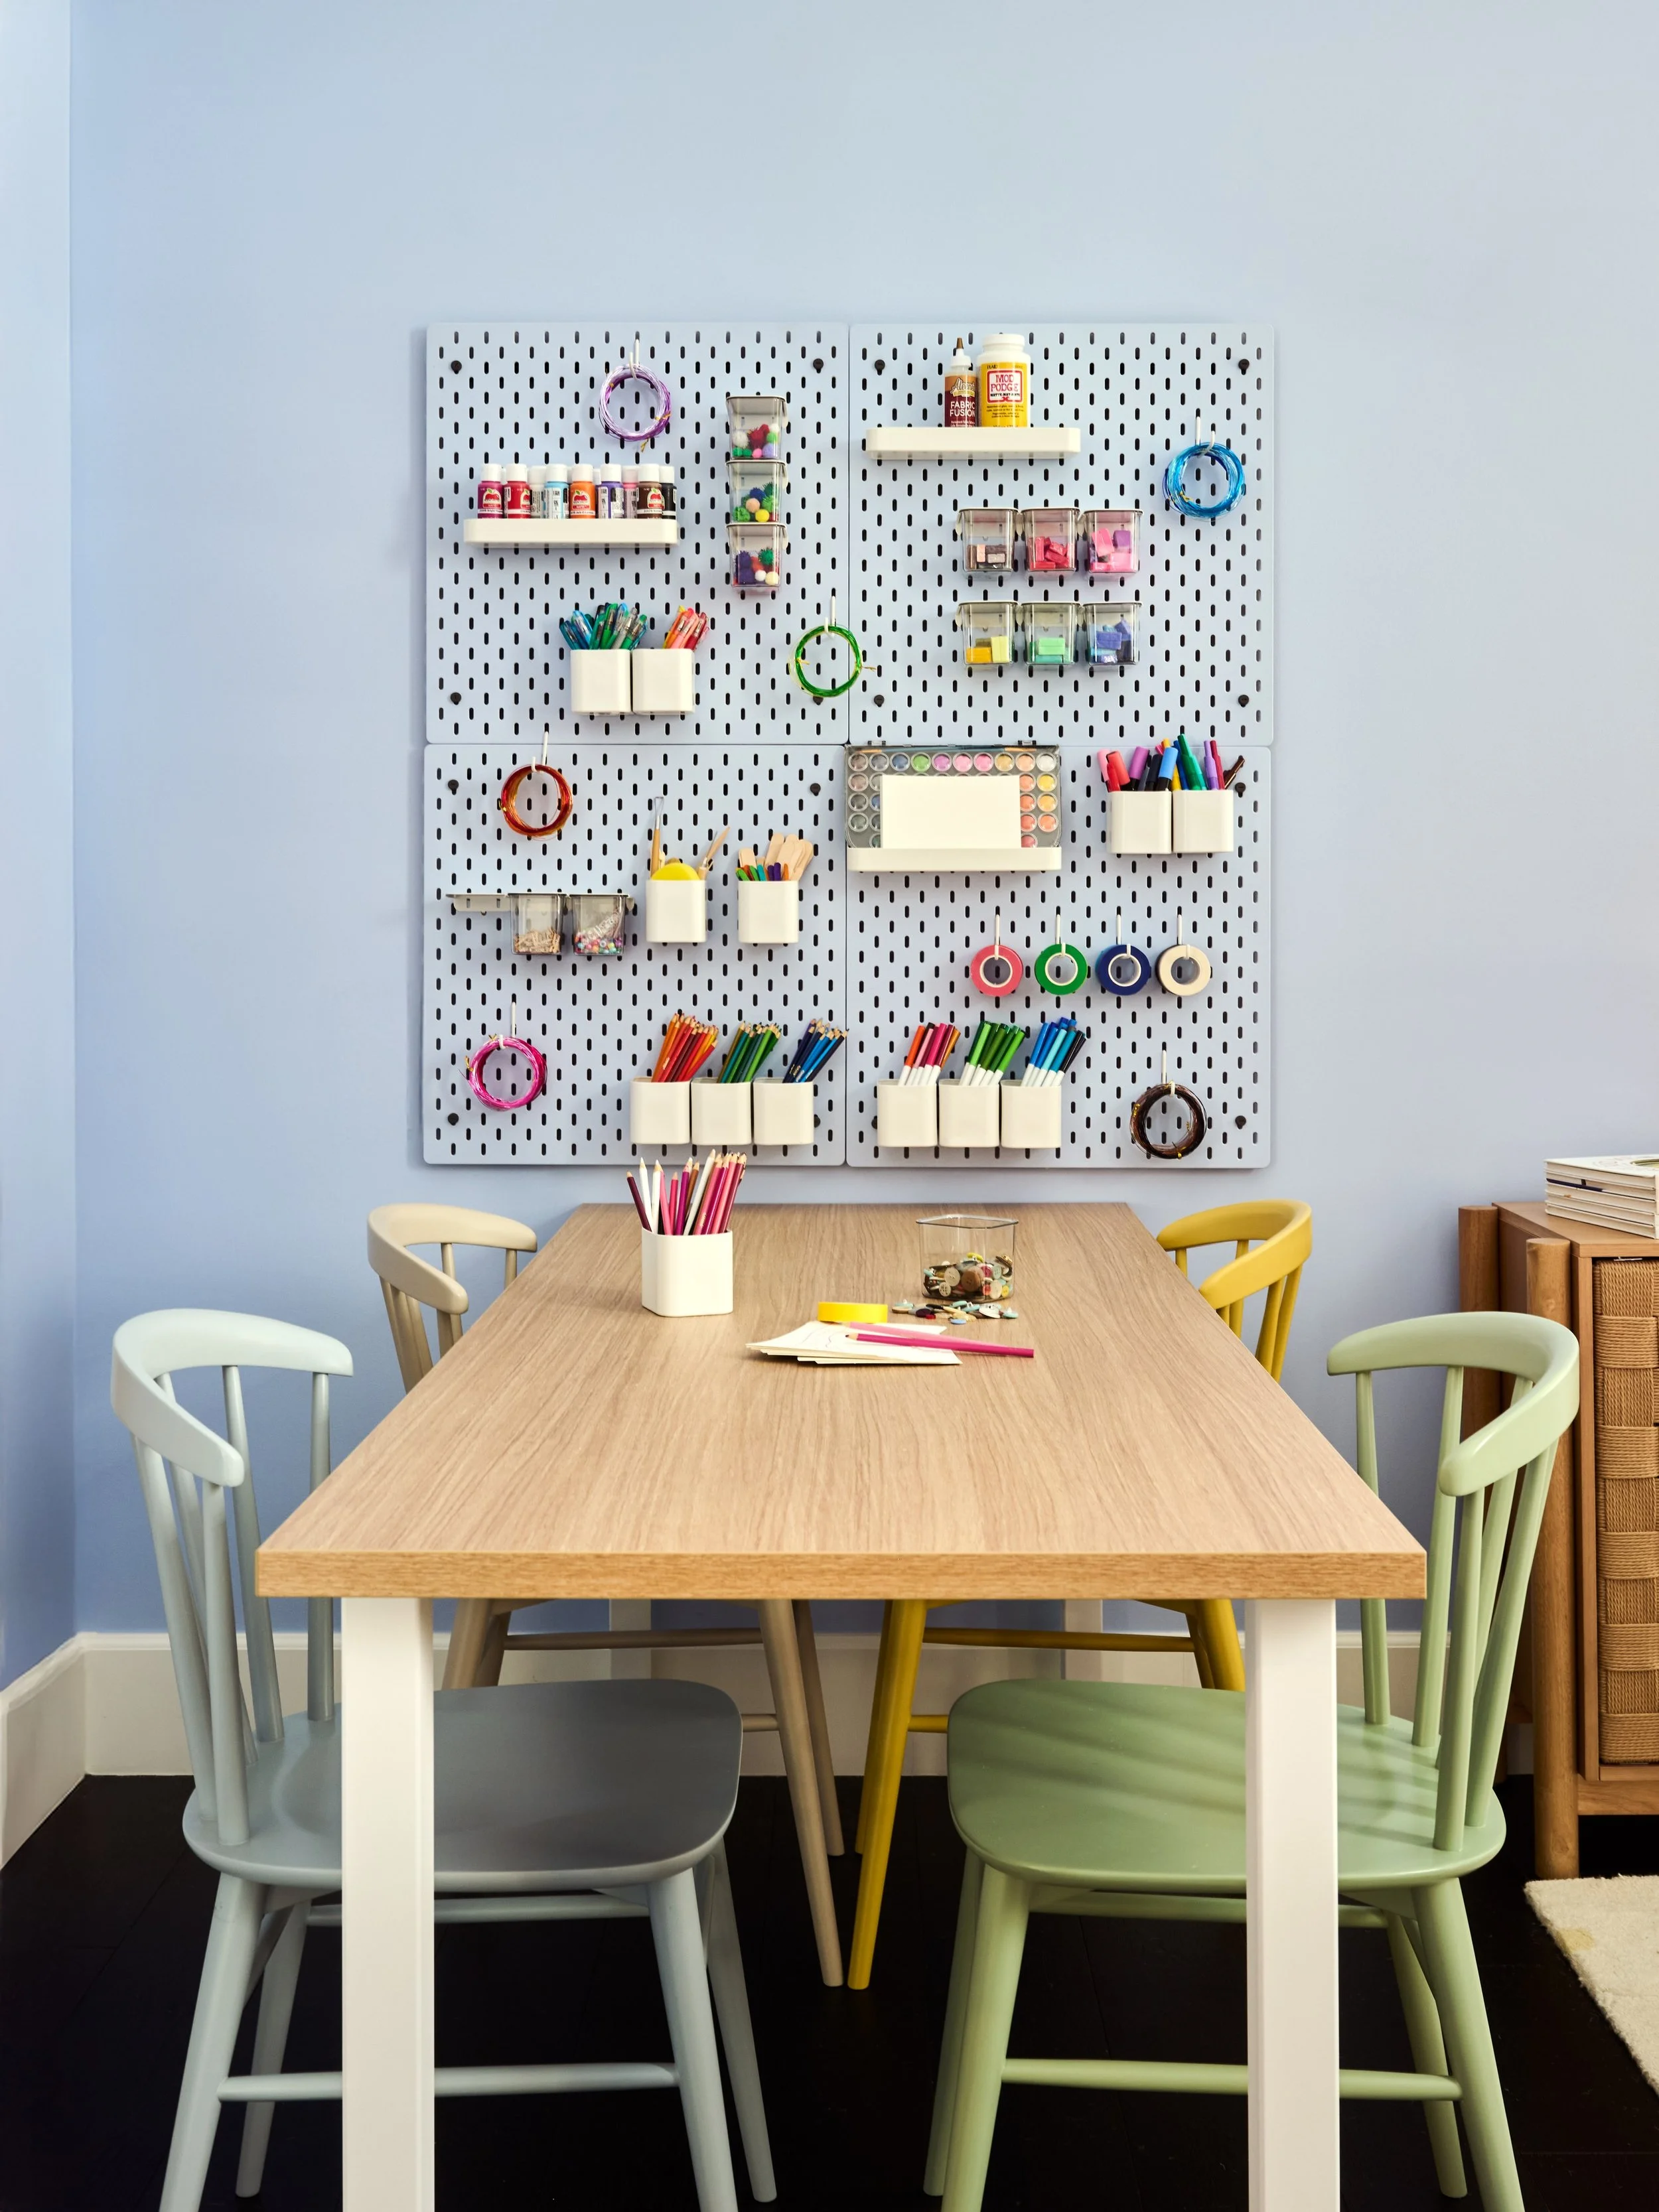
We bought four 22”x22” Skadis Pegboards from Ikea knowing that we’d arrange them into a larger square. They have other finishes and sizes, but if you plan on painting, opt for the “Wood” color.
2) Sand
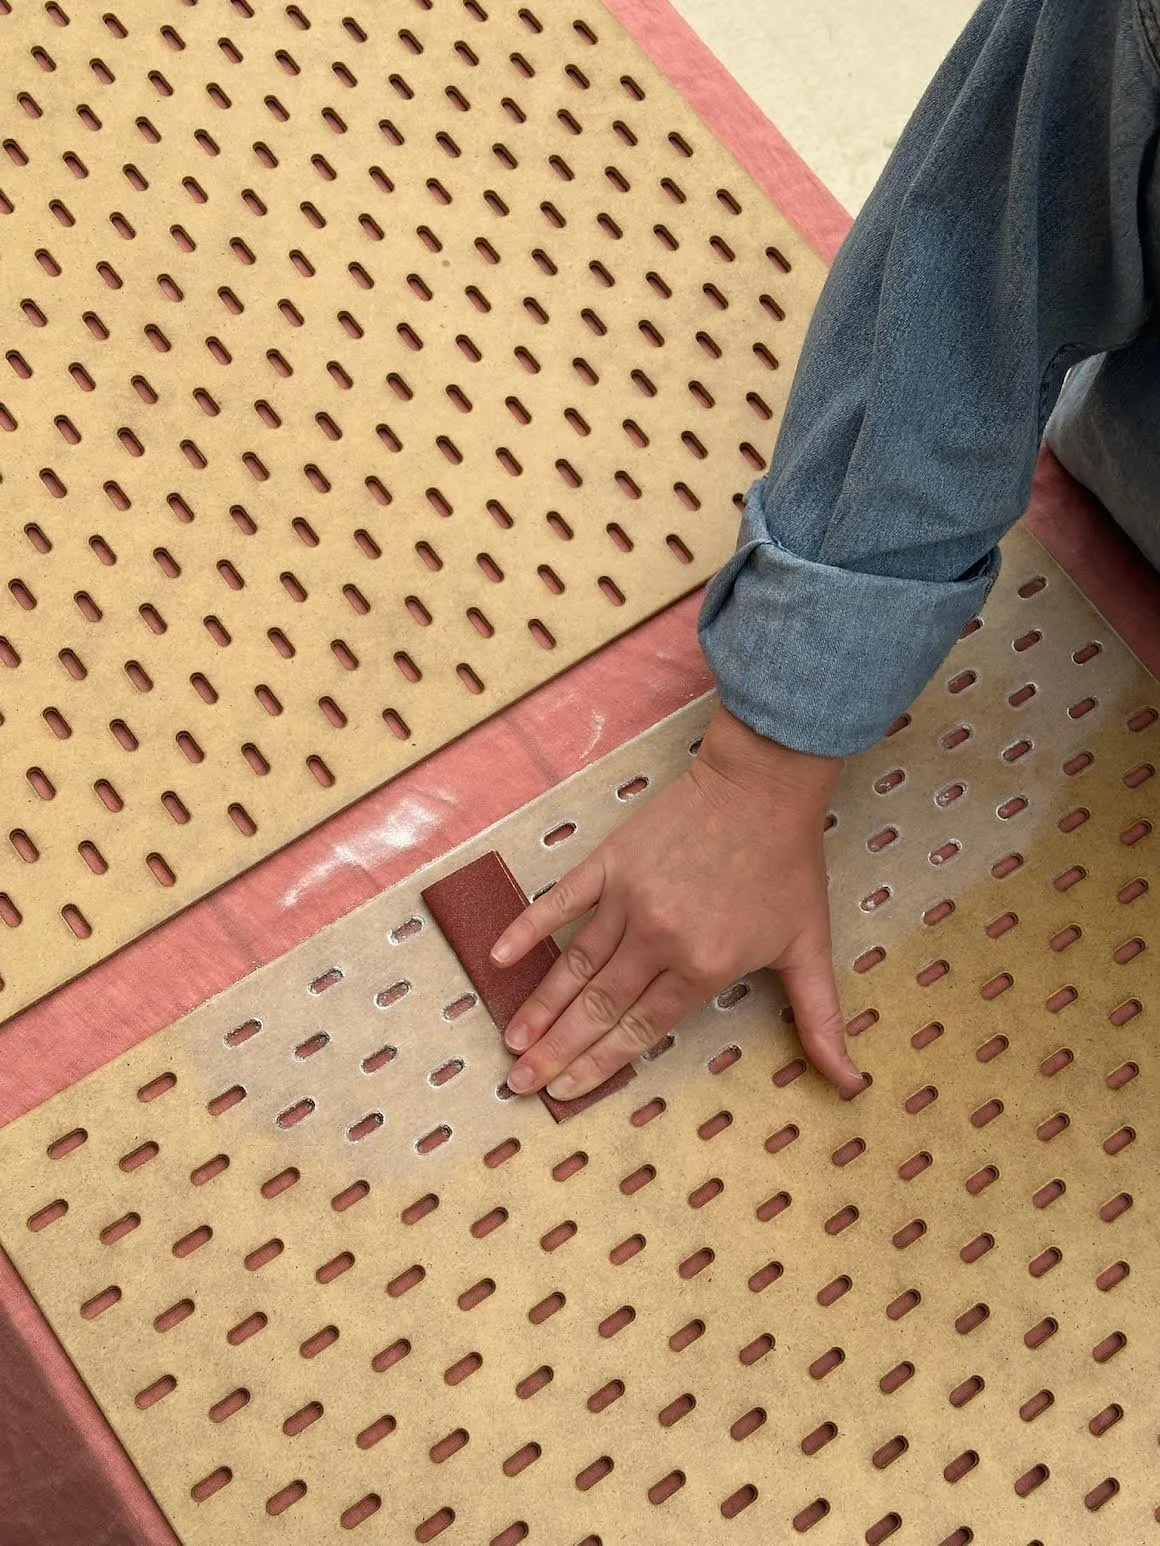
Start by sanding the front of the pegboard. I like to fold my sandpaper into thirds so I have a good grip on it and it doesn’t buckle as I move it around. You’ll mostly be sanding off the slick finish on the pegboard here, so the dust will be white and really fine. Make sure you wipe it down well with a wet rag and let it dry completely before moving onto priming.
3) Prime
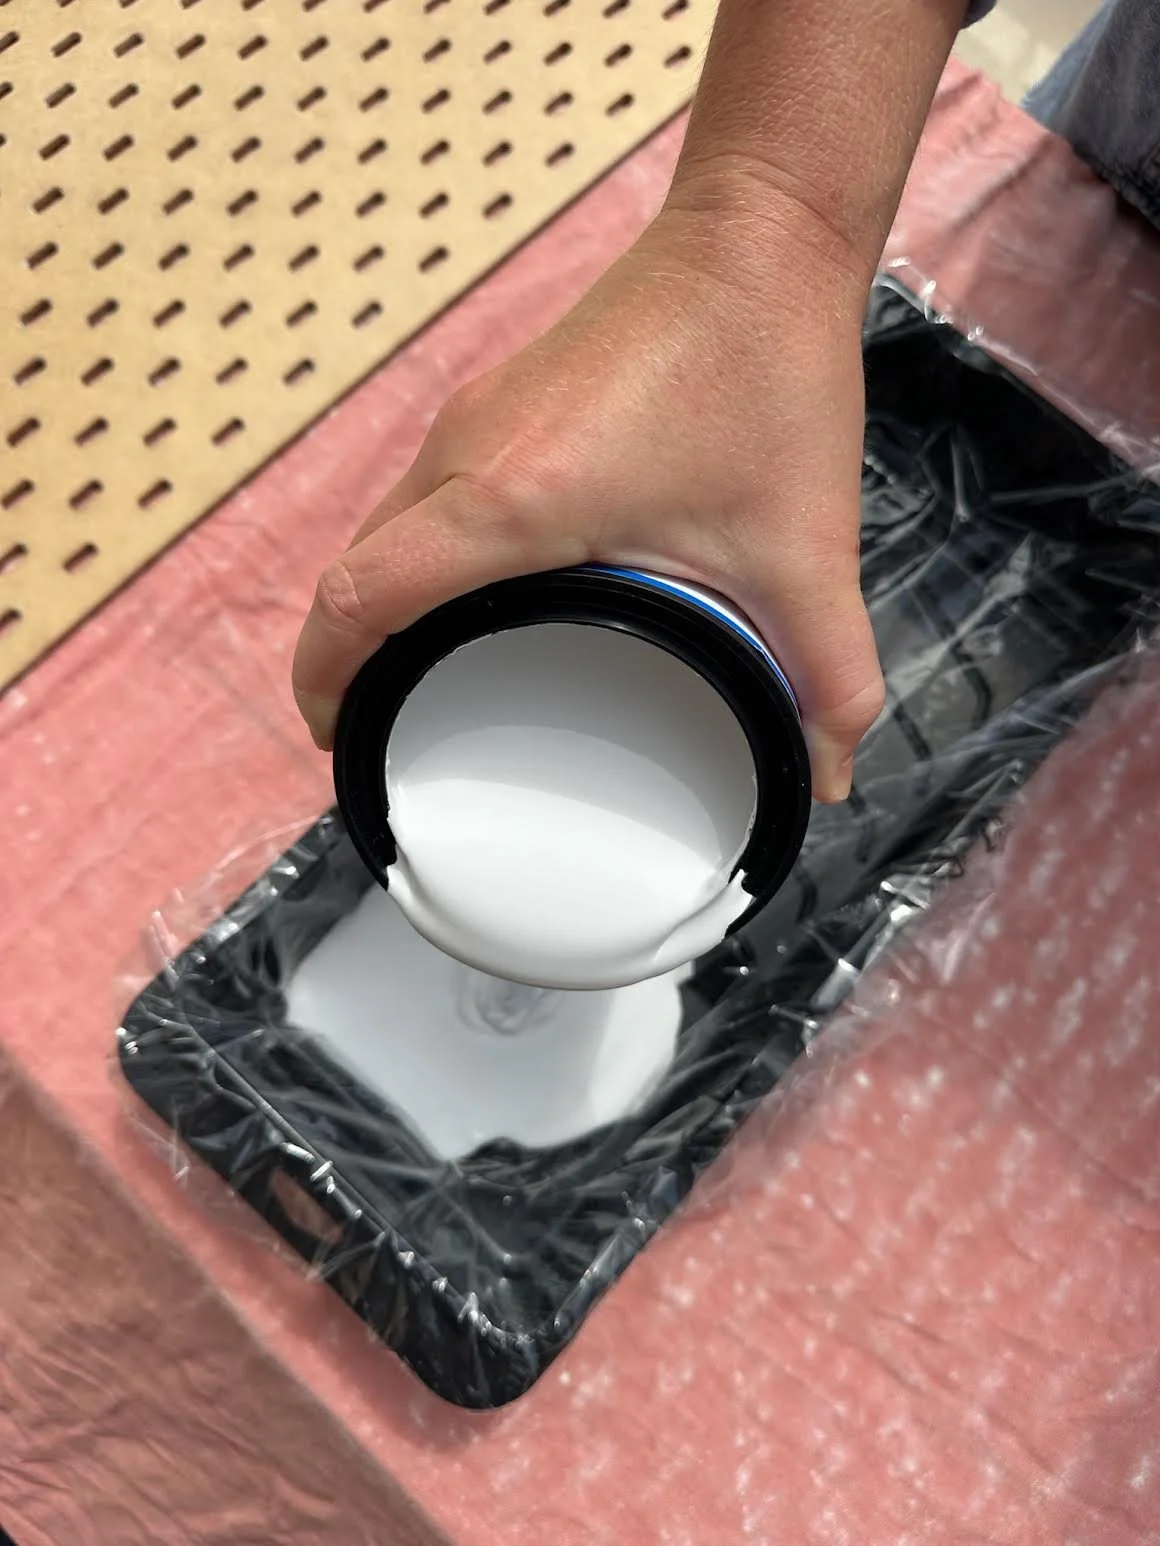
Pour your primer into a paint tray (I lined mine to keep clean-up easy peasy) and apply the primer on the pegboard. To avoid the streakiness you sometimes get with brushes, I went with a paint roller instead. Don’t be too heavy handed with the primer because it will collect in the holes and look gloopy. Let that dry completely. If the coverage is iffy, you can do two coats of primer.
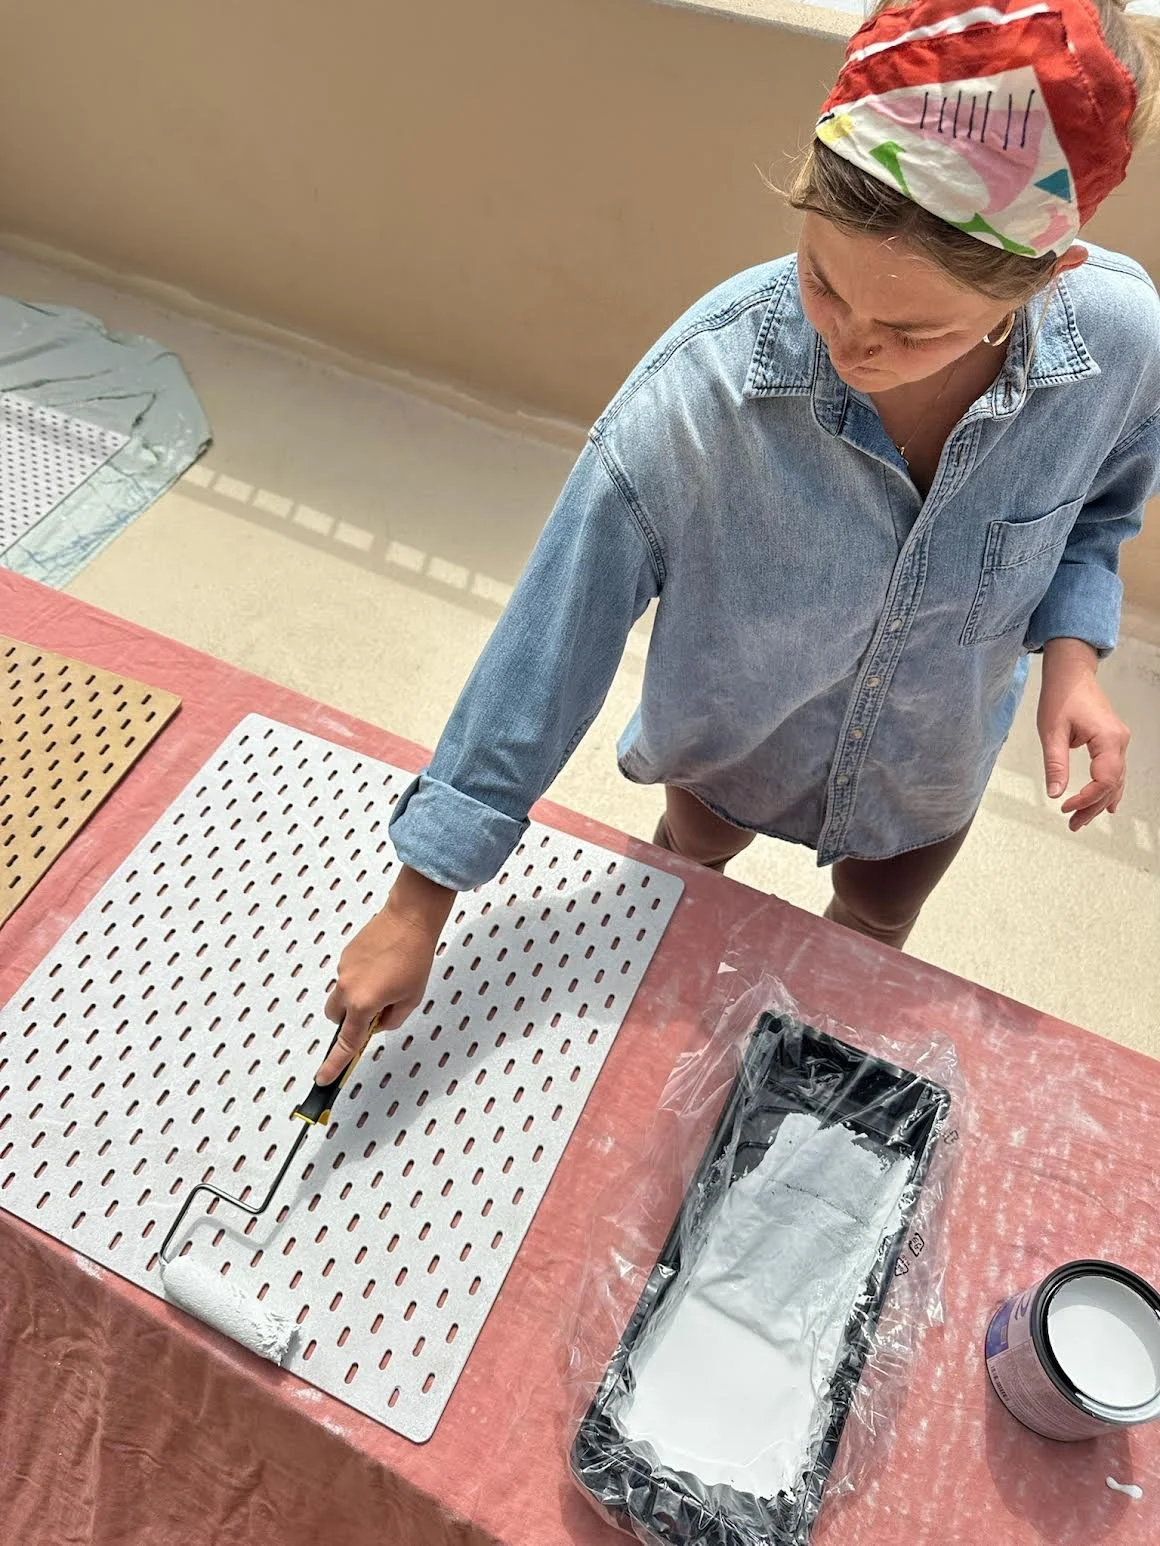
4) Paint
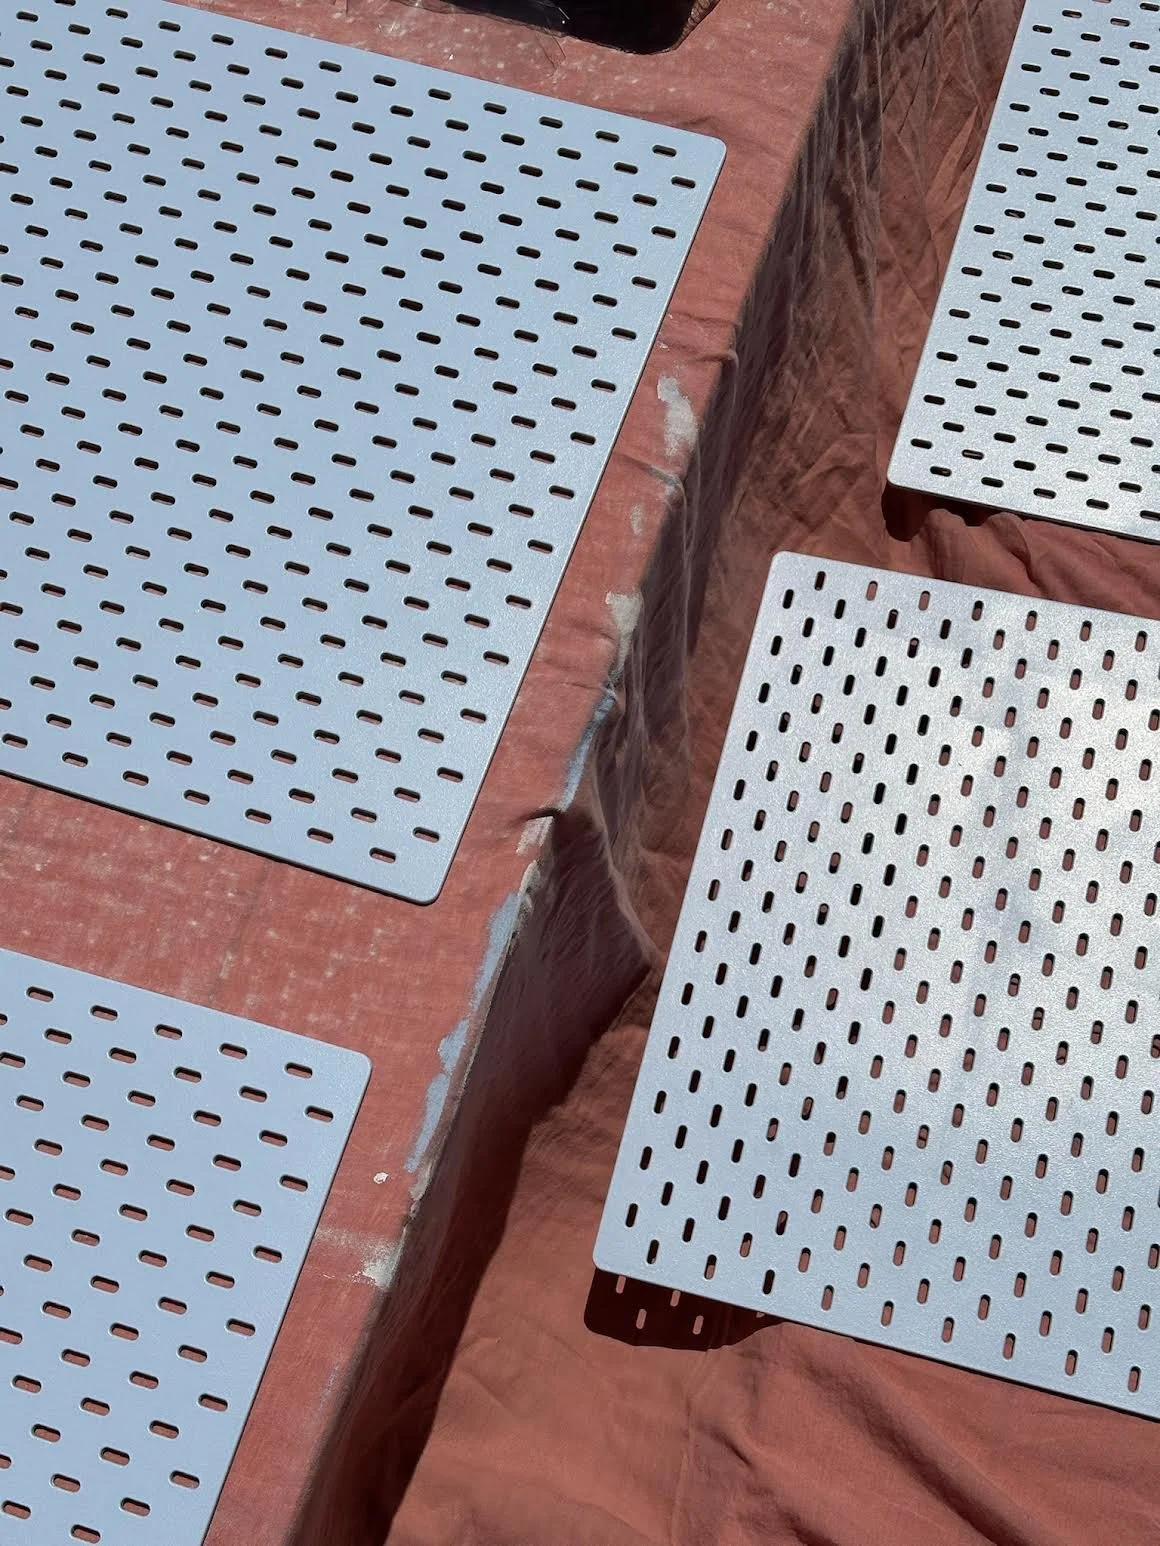
Pour your paint into the tray and use a roller to apply the paint. Again, not too much, don’t want gLOooOOOPpYyYyy 🙅🏼♀️ Apply a second coat of paint once that’s all dry.
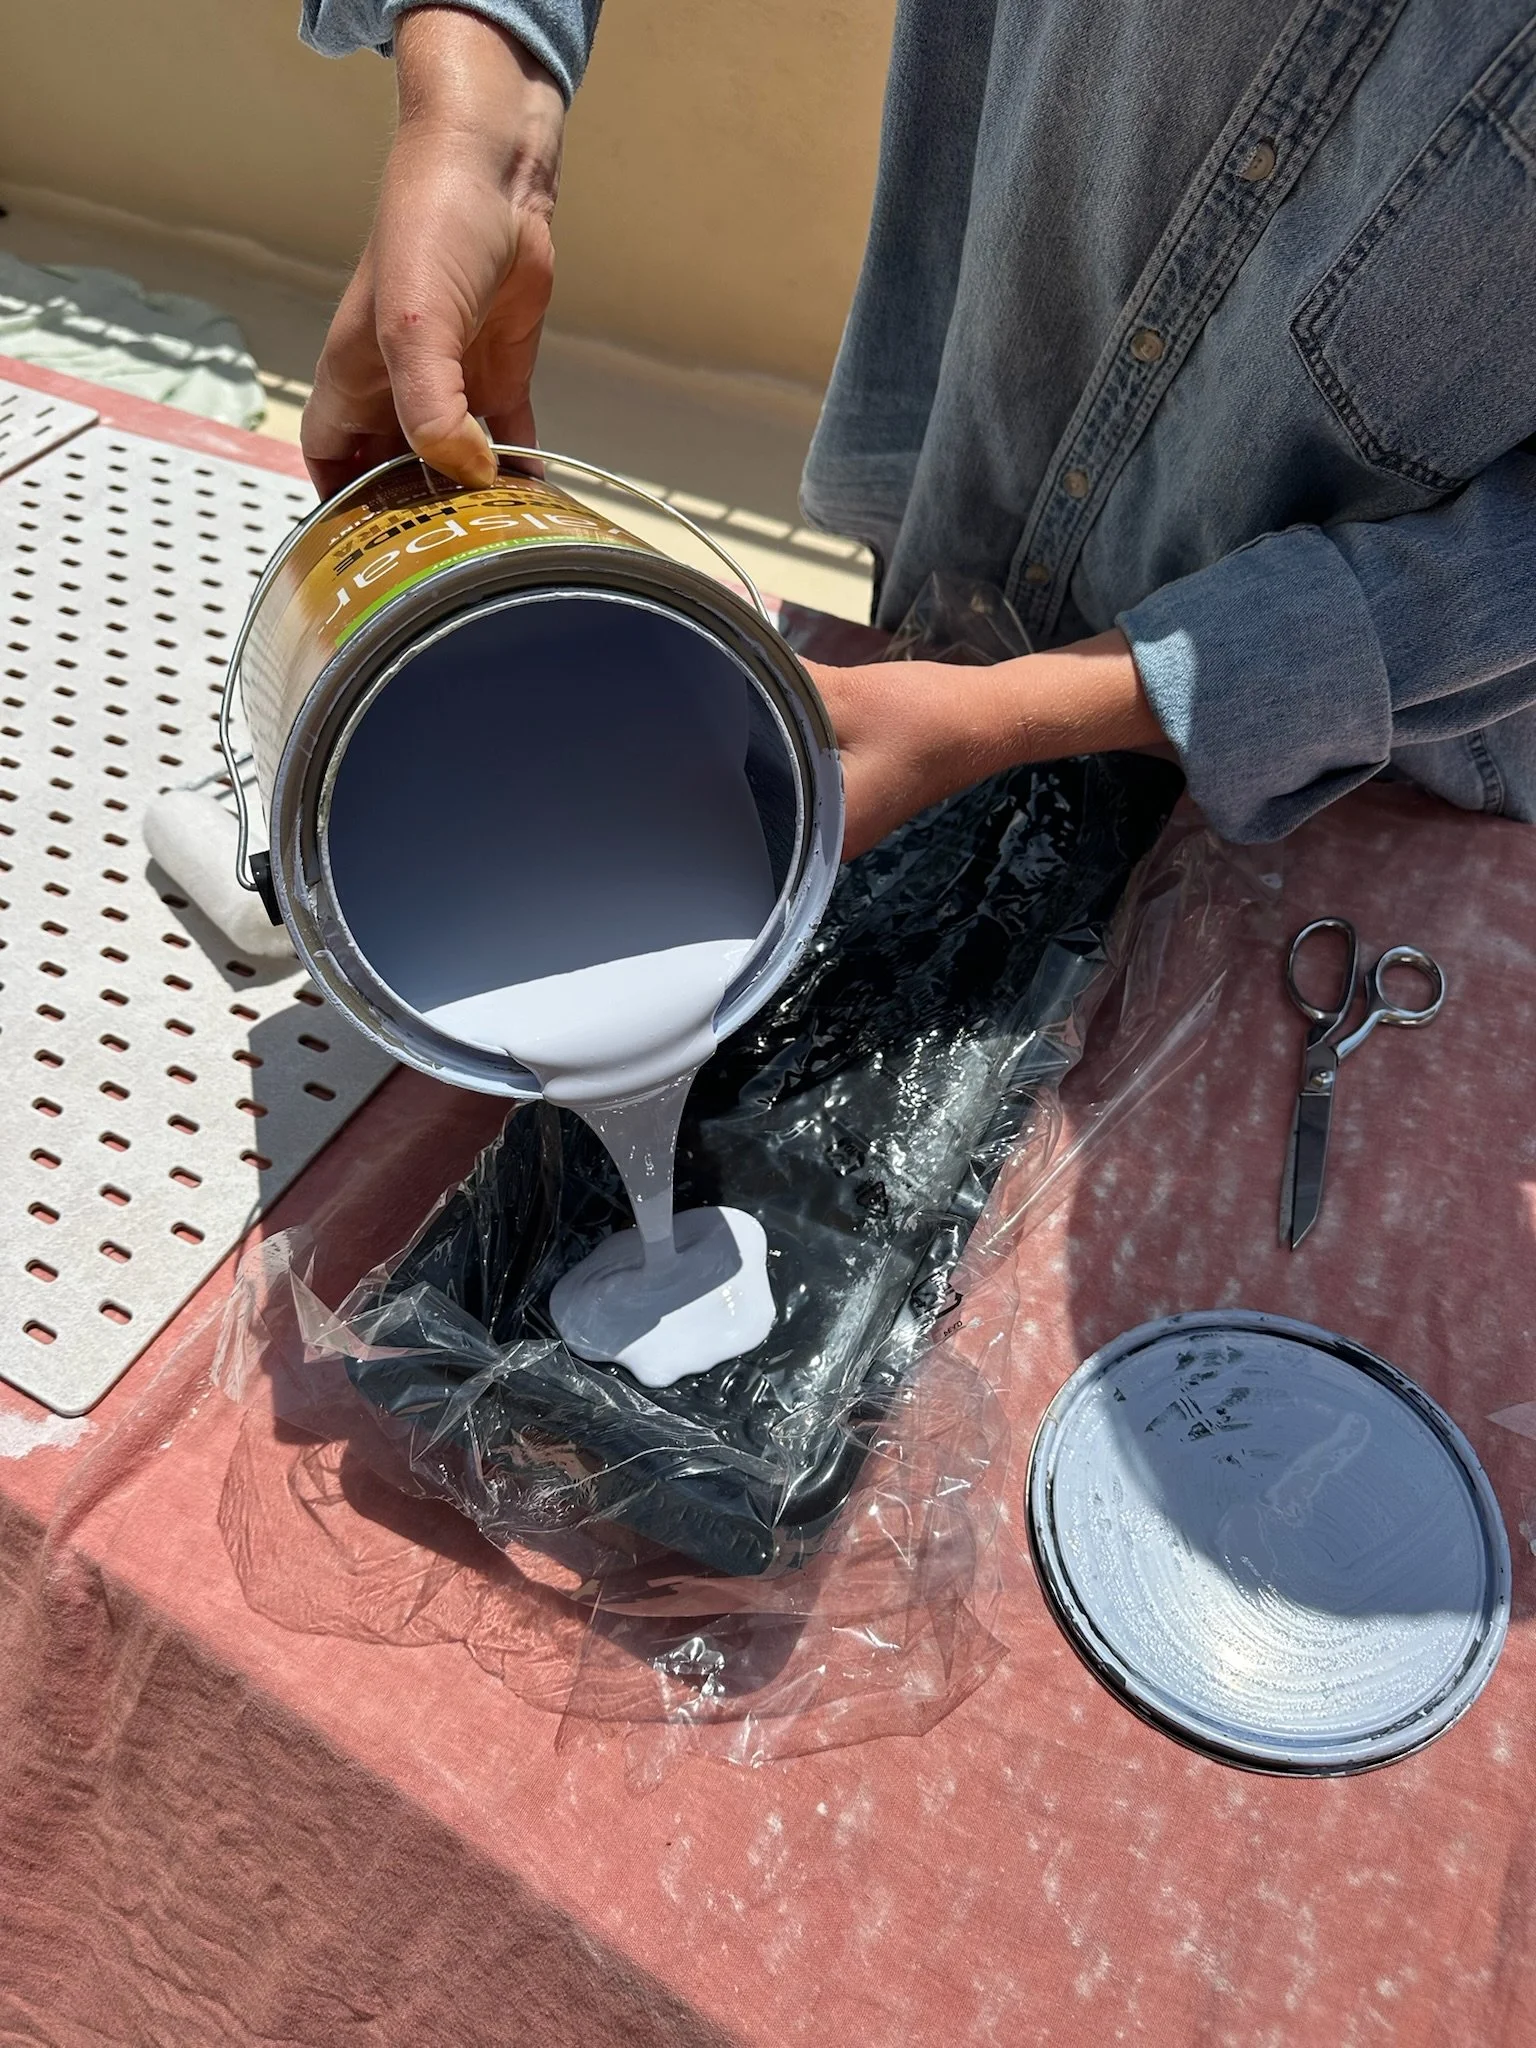
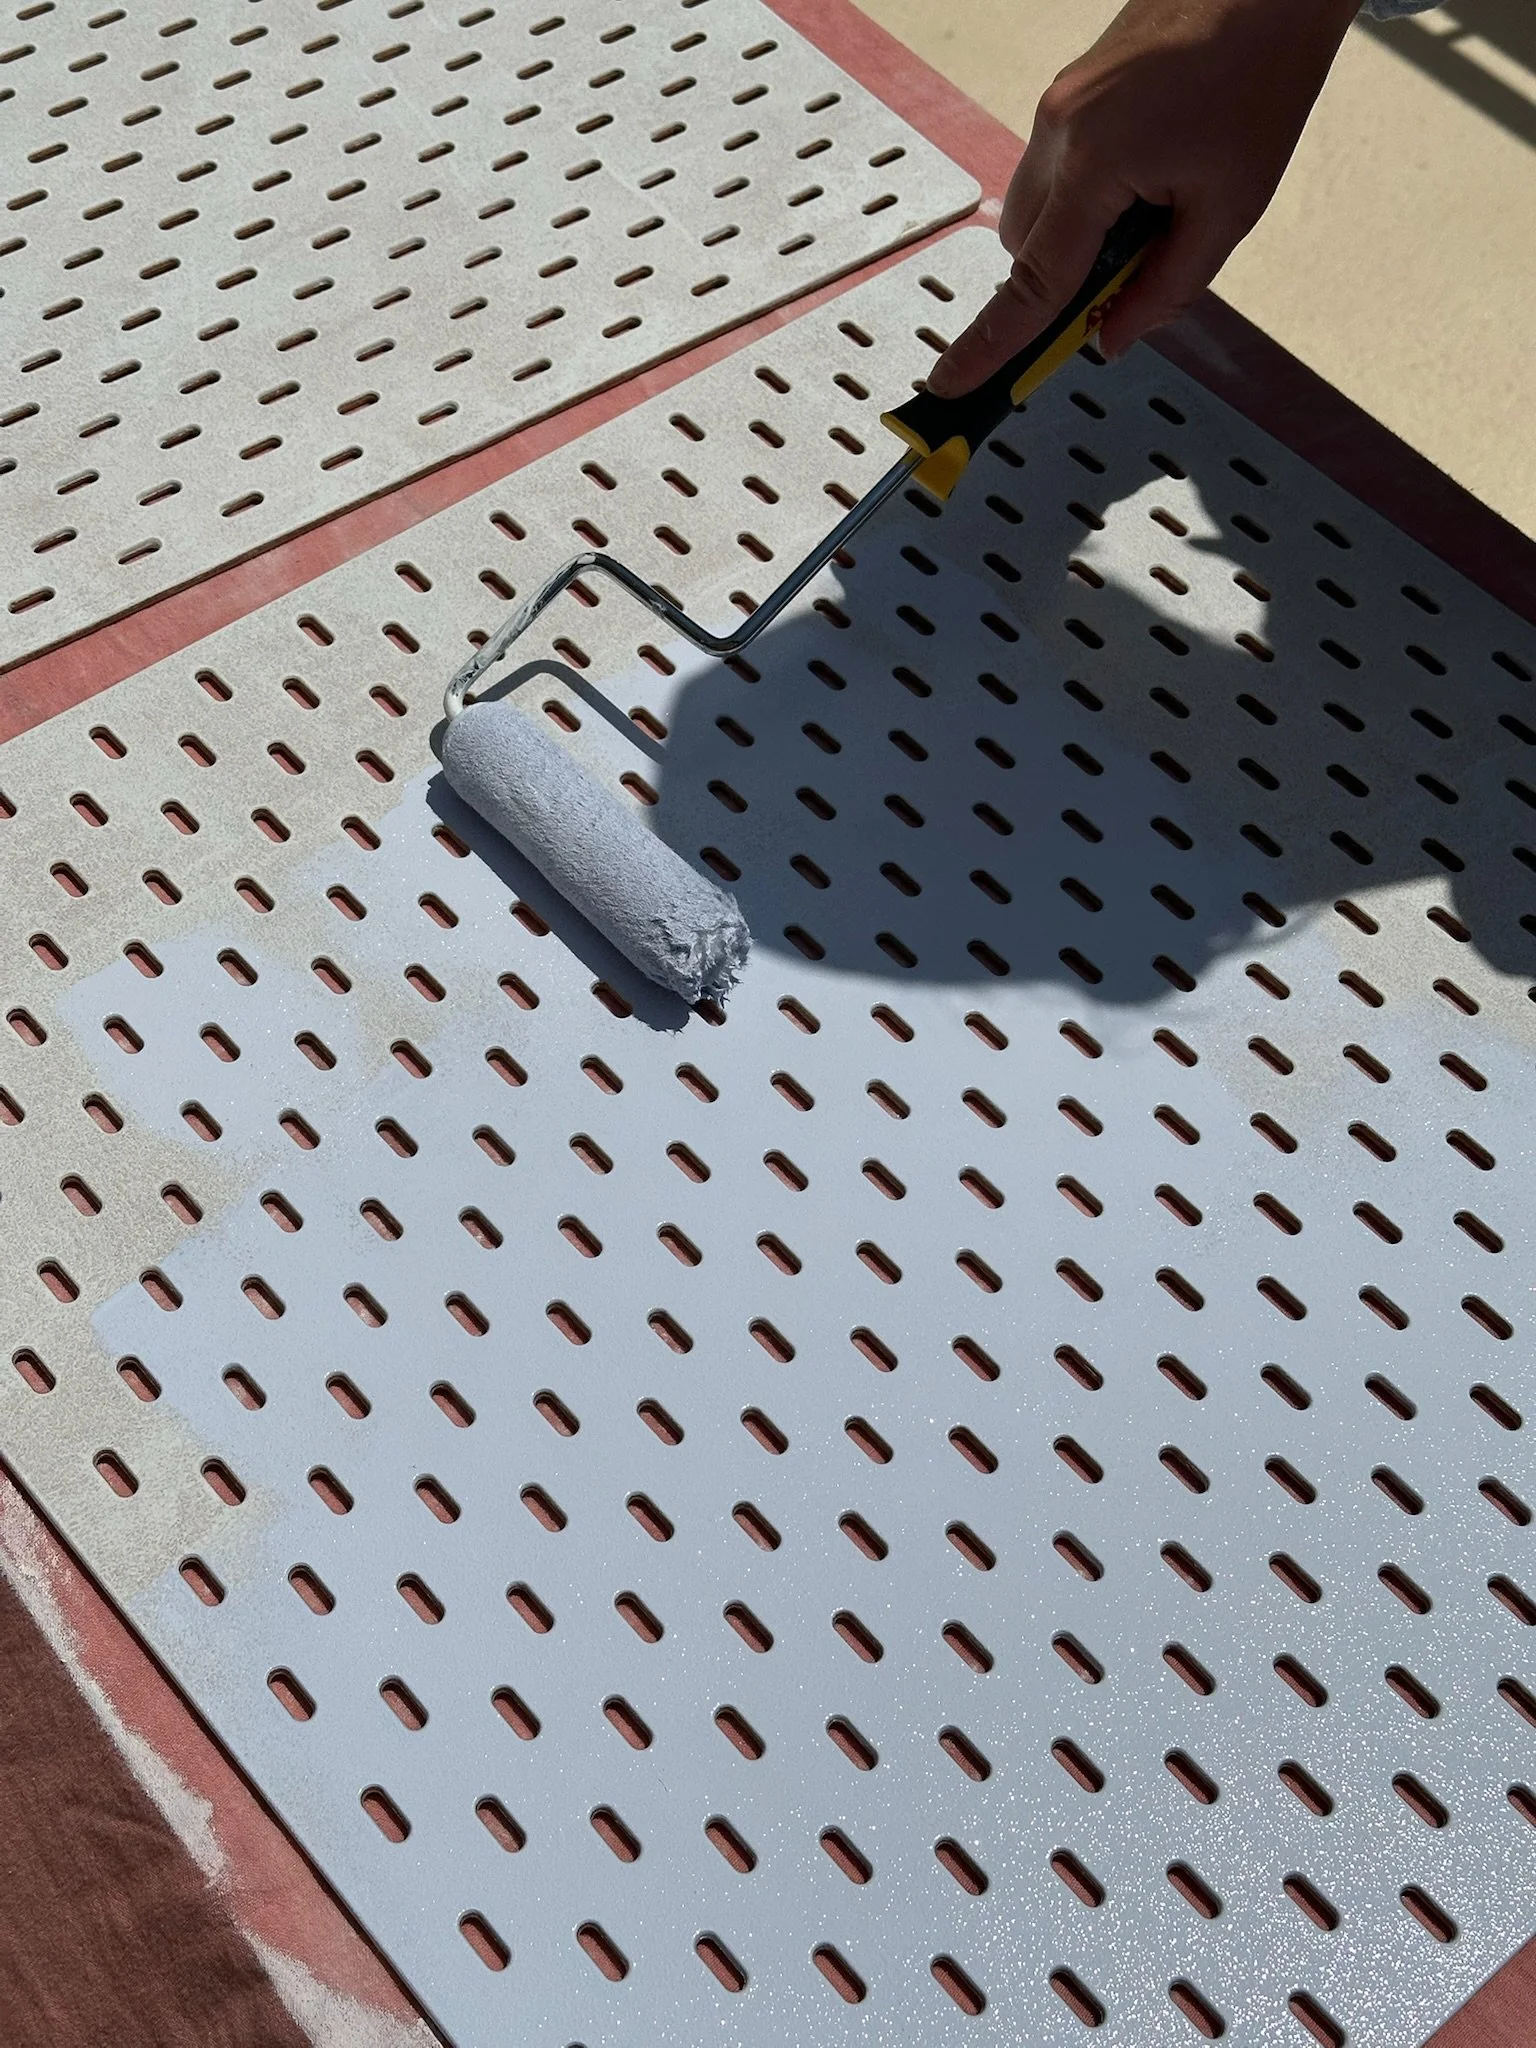
5) Seal
Finally! Use a paint roller to apply a hardening top coat. If you’re using attachments, they’ll interact with the surface of the pegboard A LOT, so you’ll want it to be able to withstand some friction.
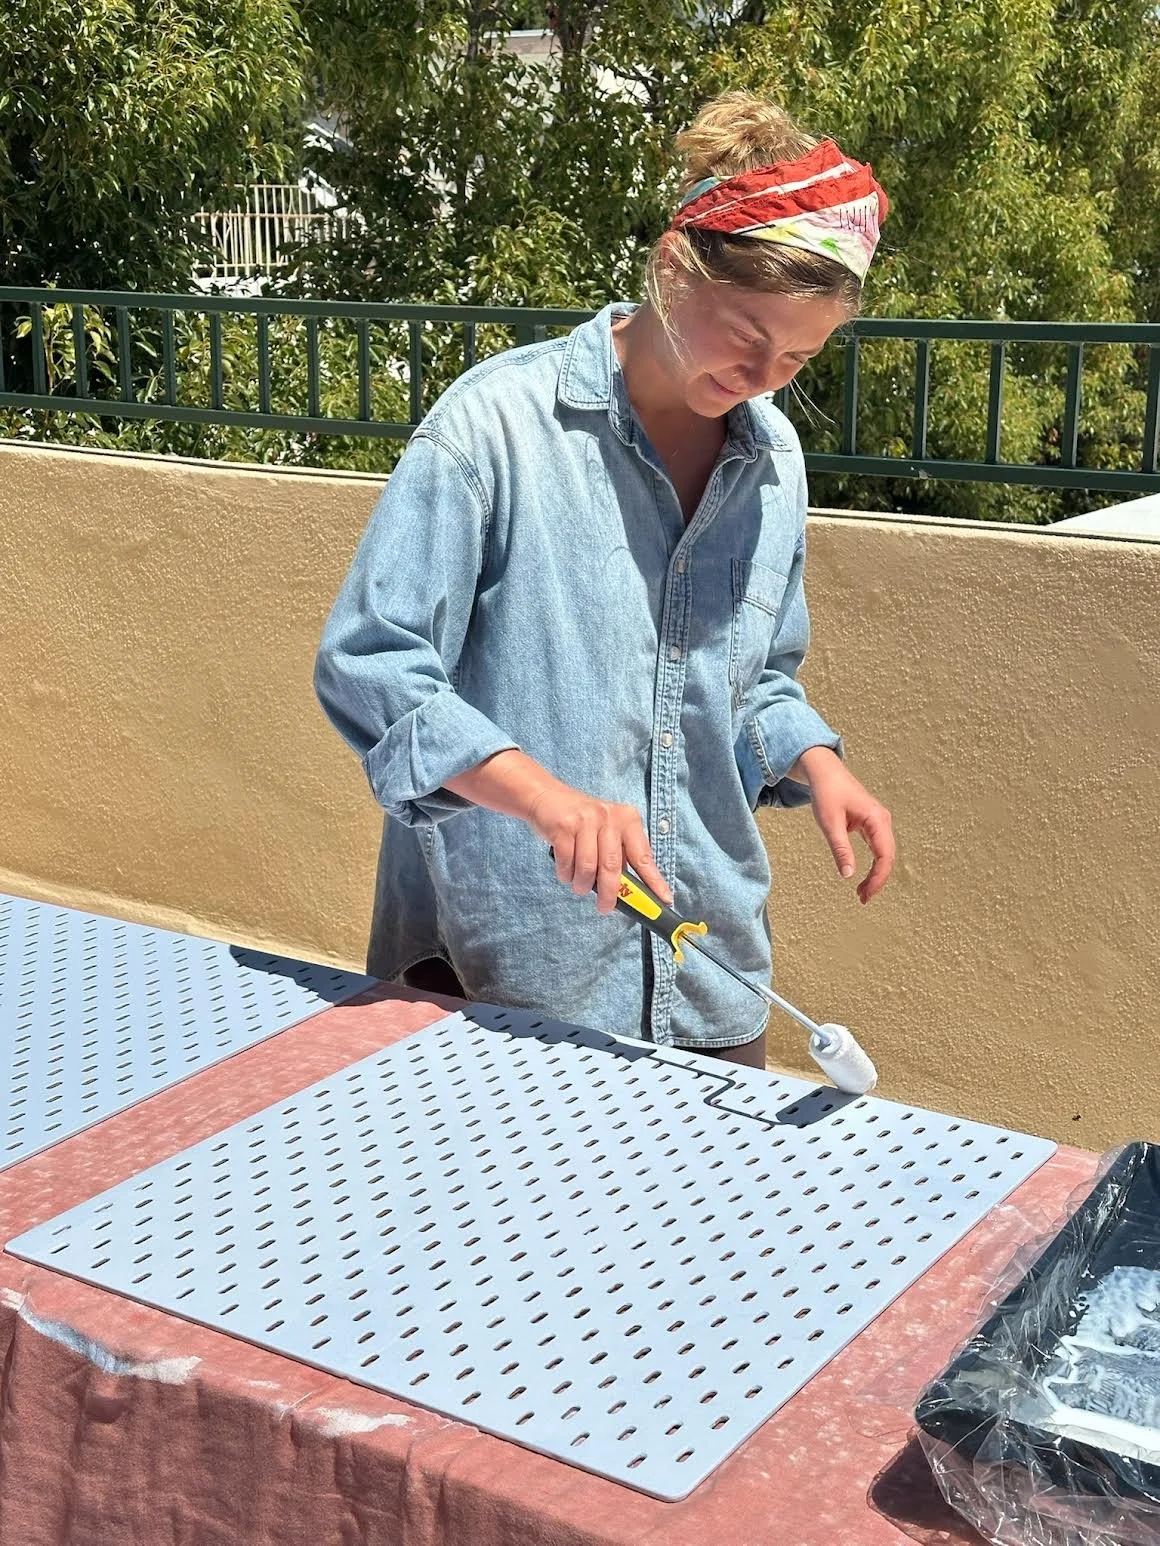
6) Hang!
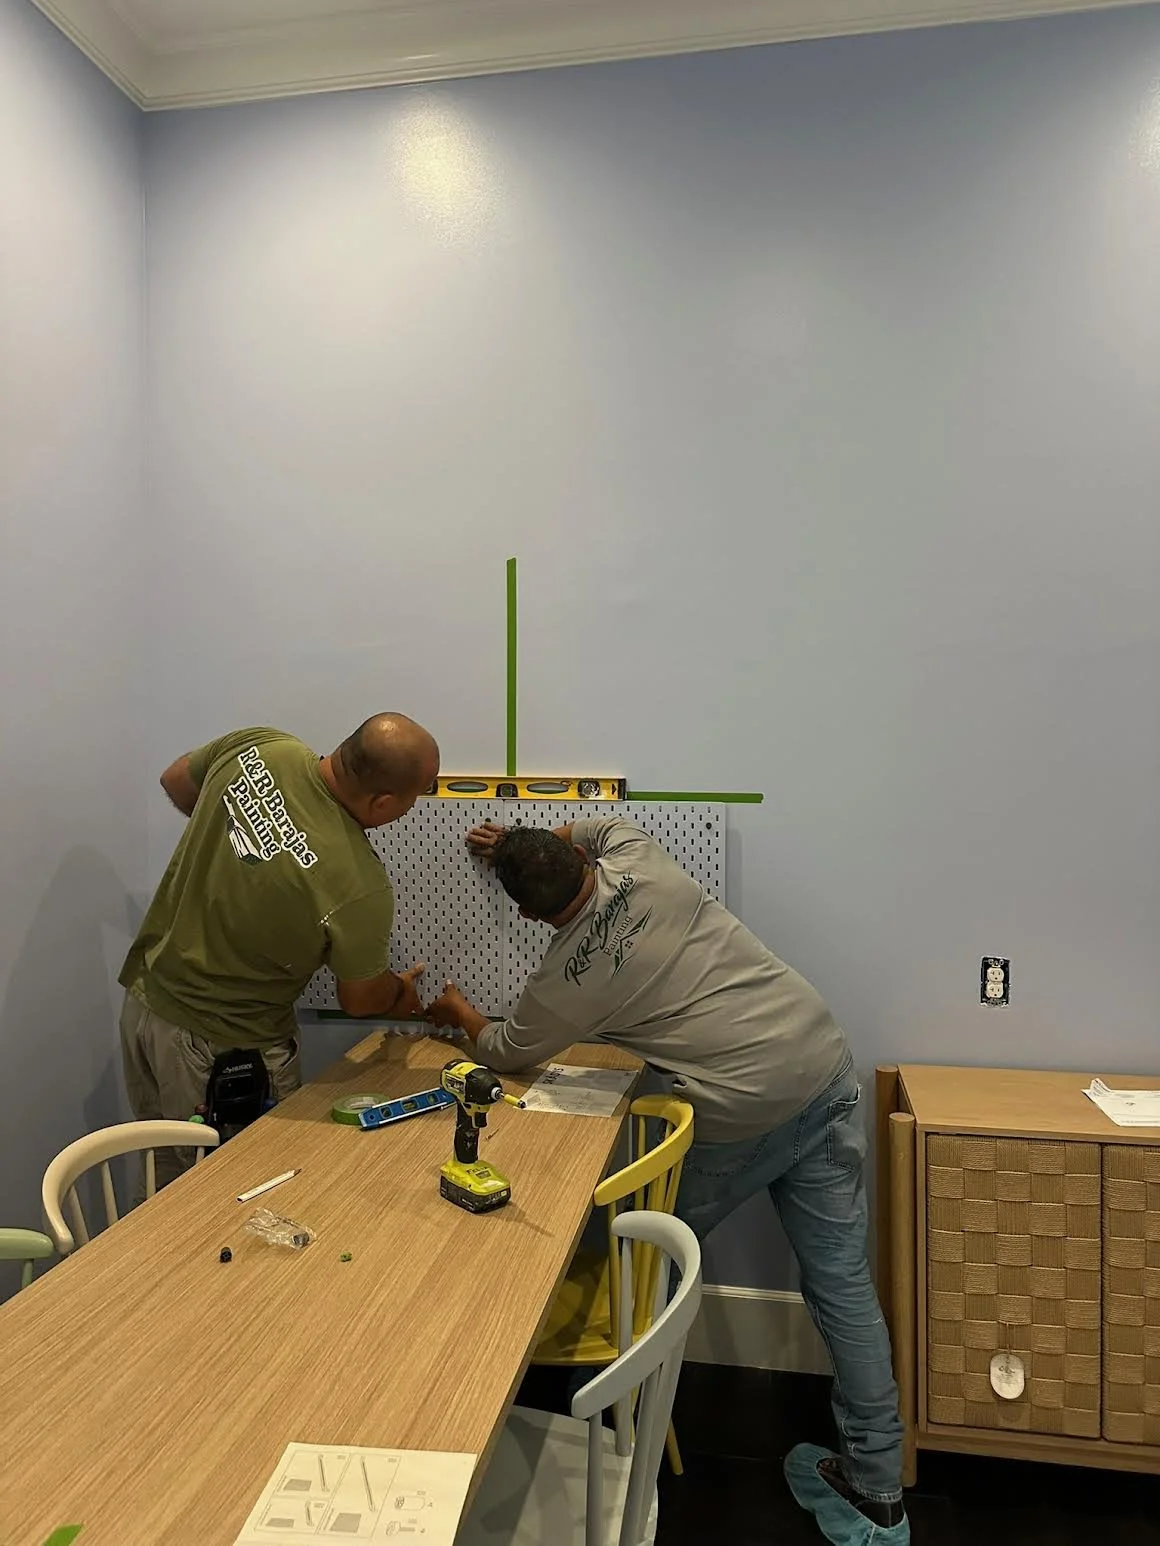
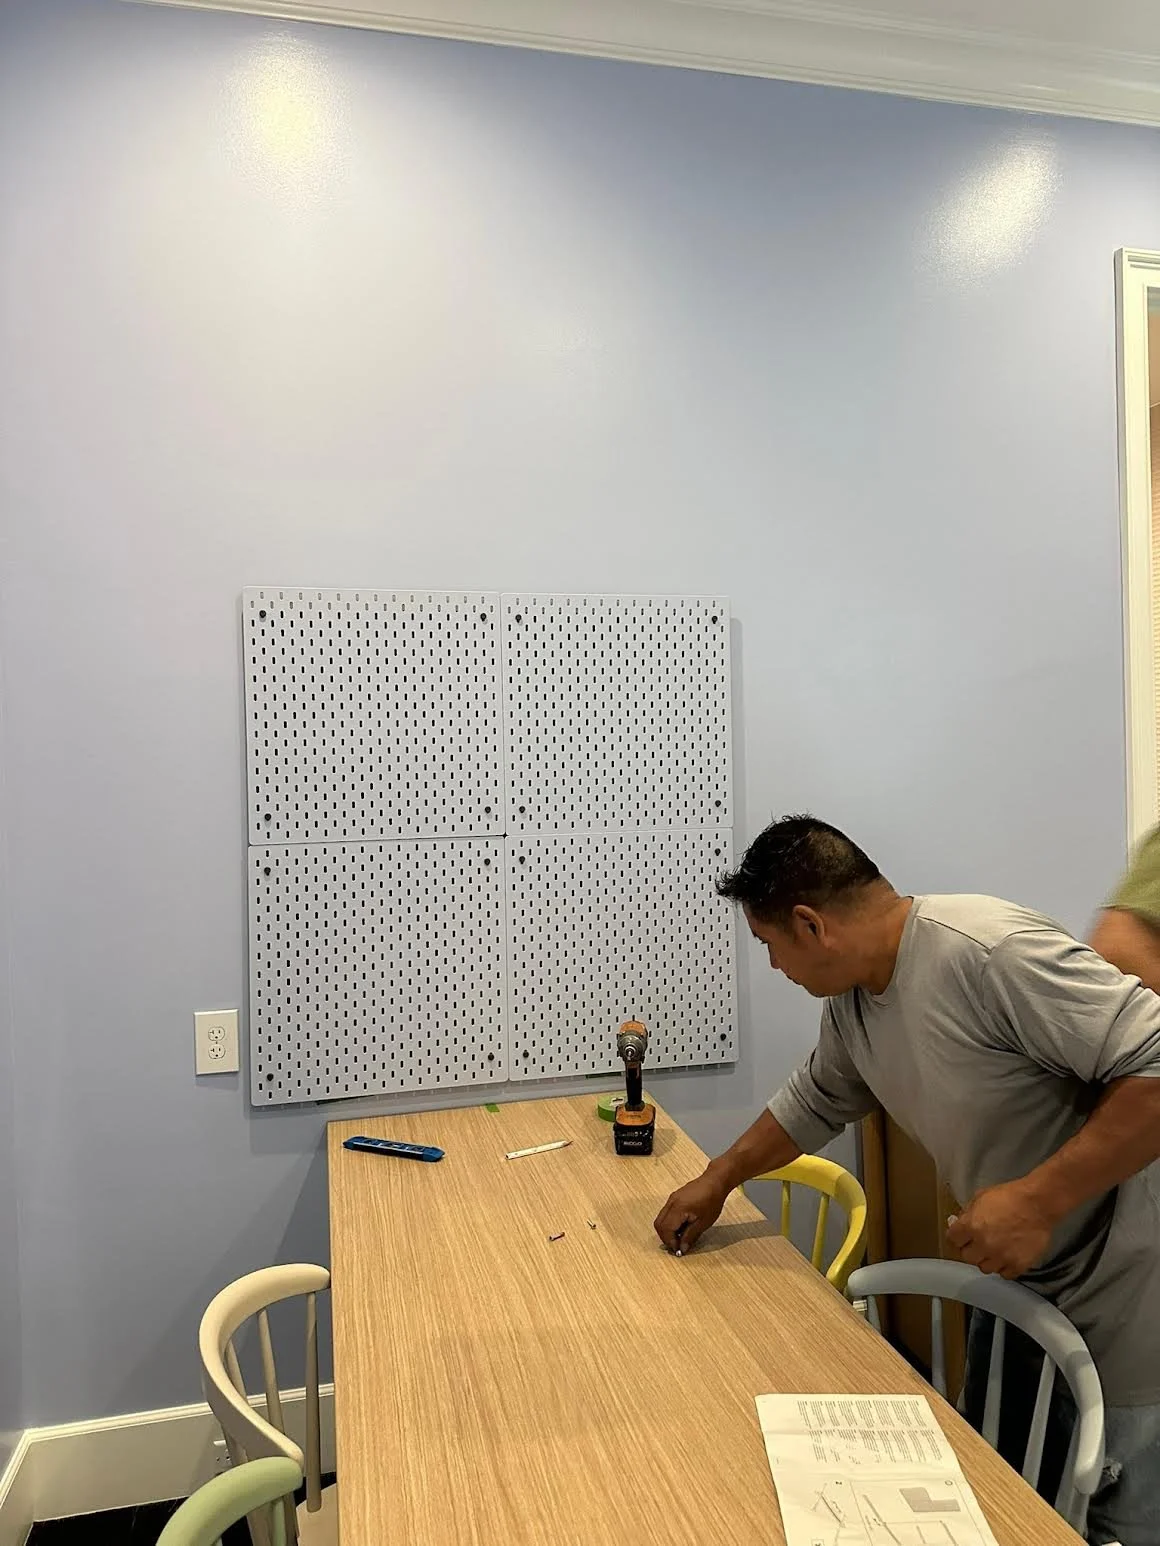
These come with the hardware you need to hang them! Make sure they’re really flush with one another for the cleanest finished look :)
Ready to build your Little Kingdom?
Whether it’s a playroom, bedroom or nursery, we’re just a click away :) Fill out the intake form below so we can get dreamin’!