How to build a cork board wall in your child’s bedroom
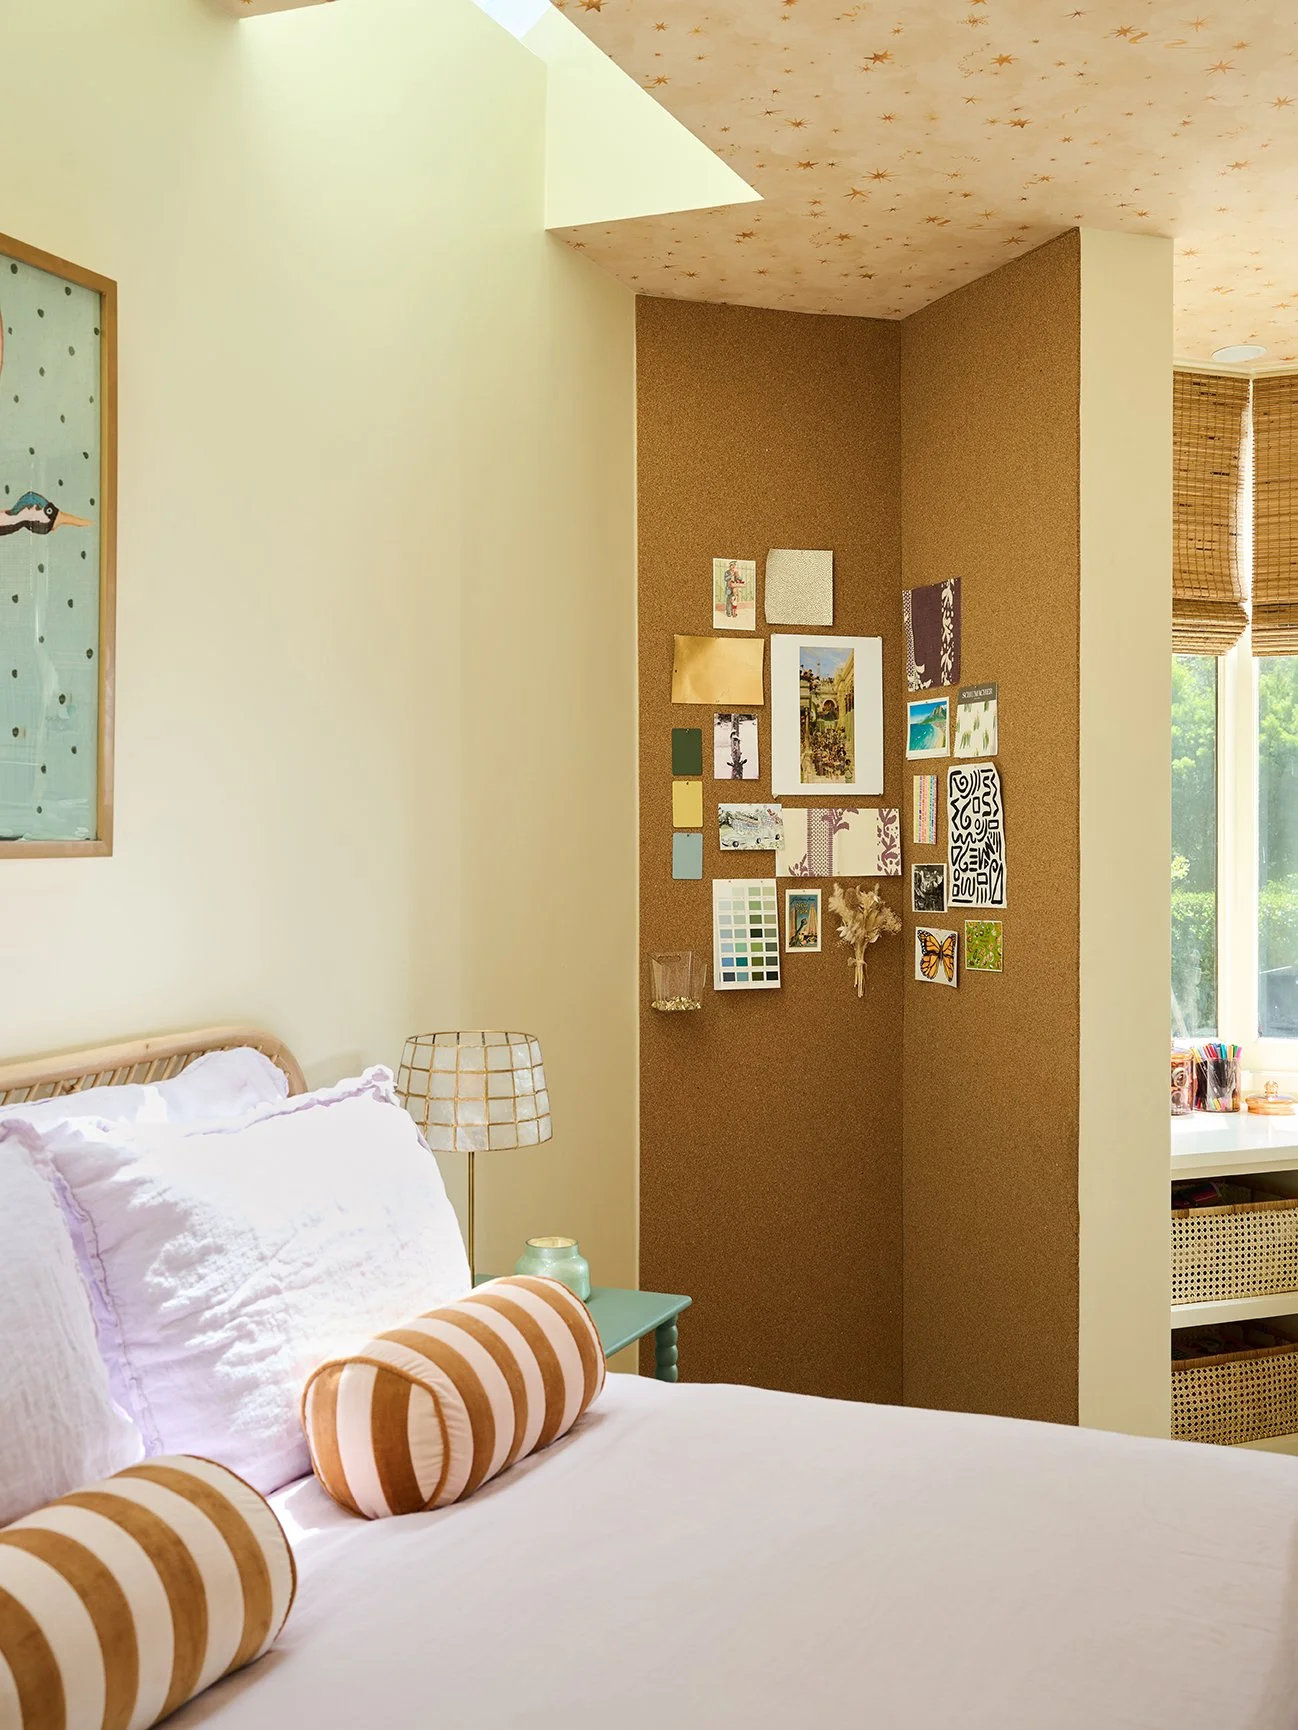
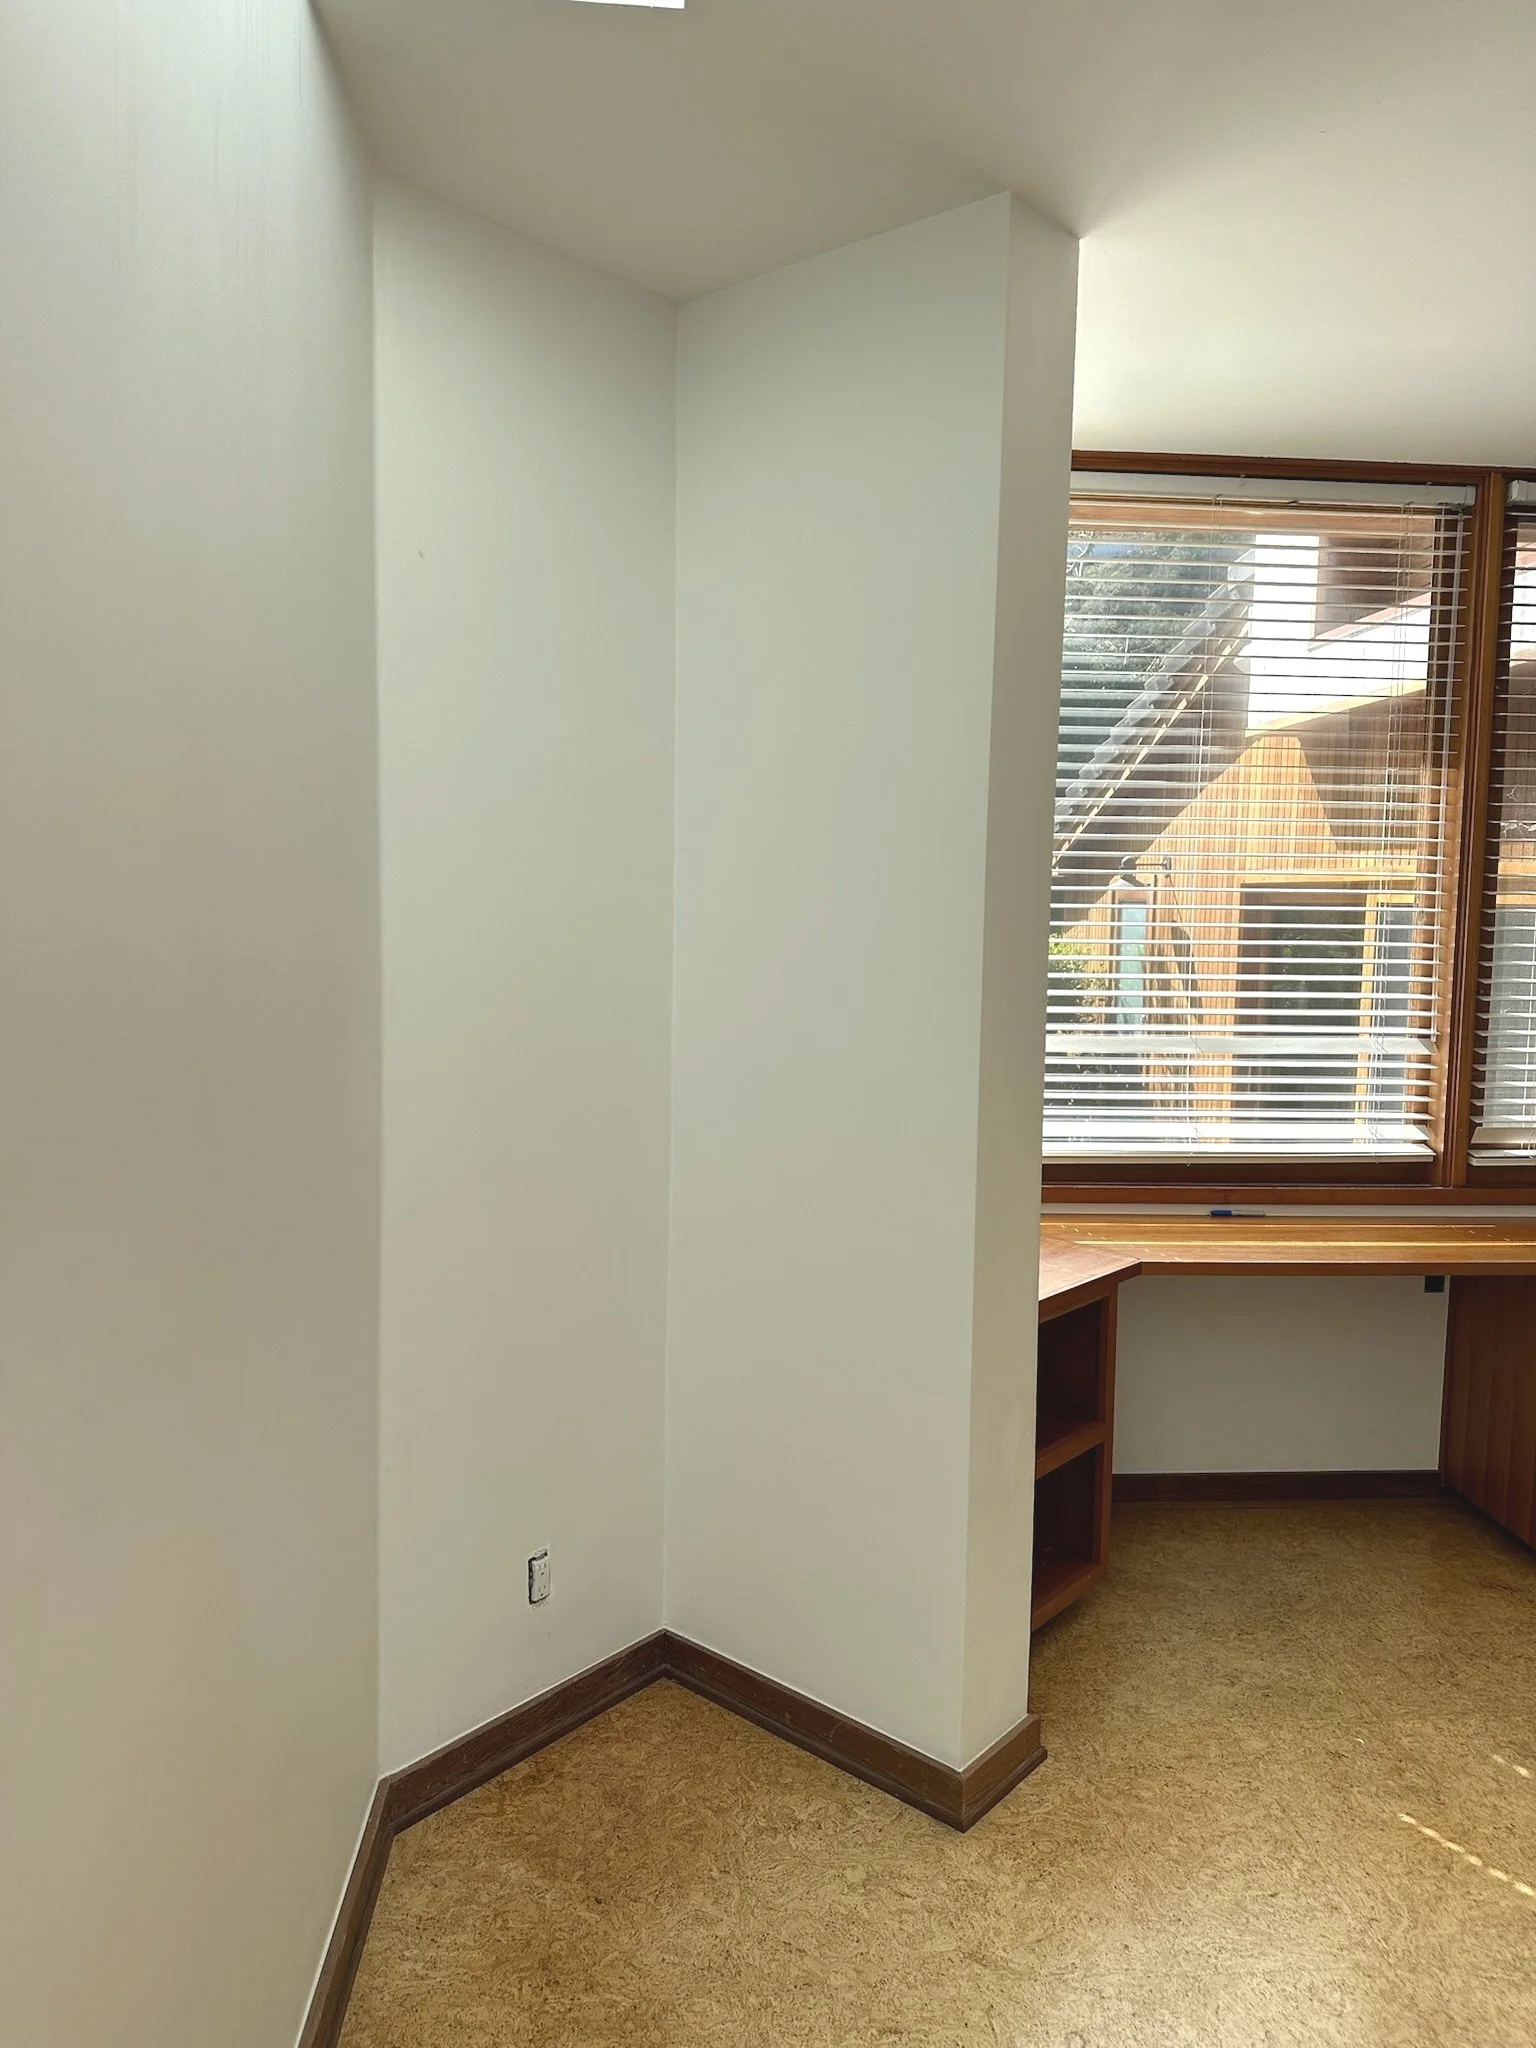
Our client’s daughter is a BIG mementos girl. From photos to tickets to letters she’s saving it! We wanted to give her a special spot in her bedroom to display these keepsakes (the bottom of her desk drawer simply wouldn’t do). We noticed this little corner of her room and thought it would be perfect for a custom cork board wall. If you’re interested in doing this in your home, all of the supplies can be found here.
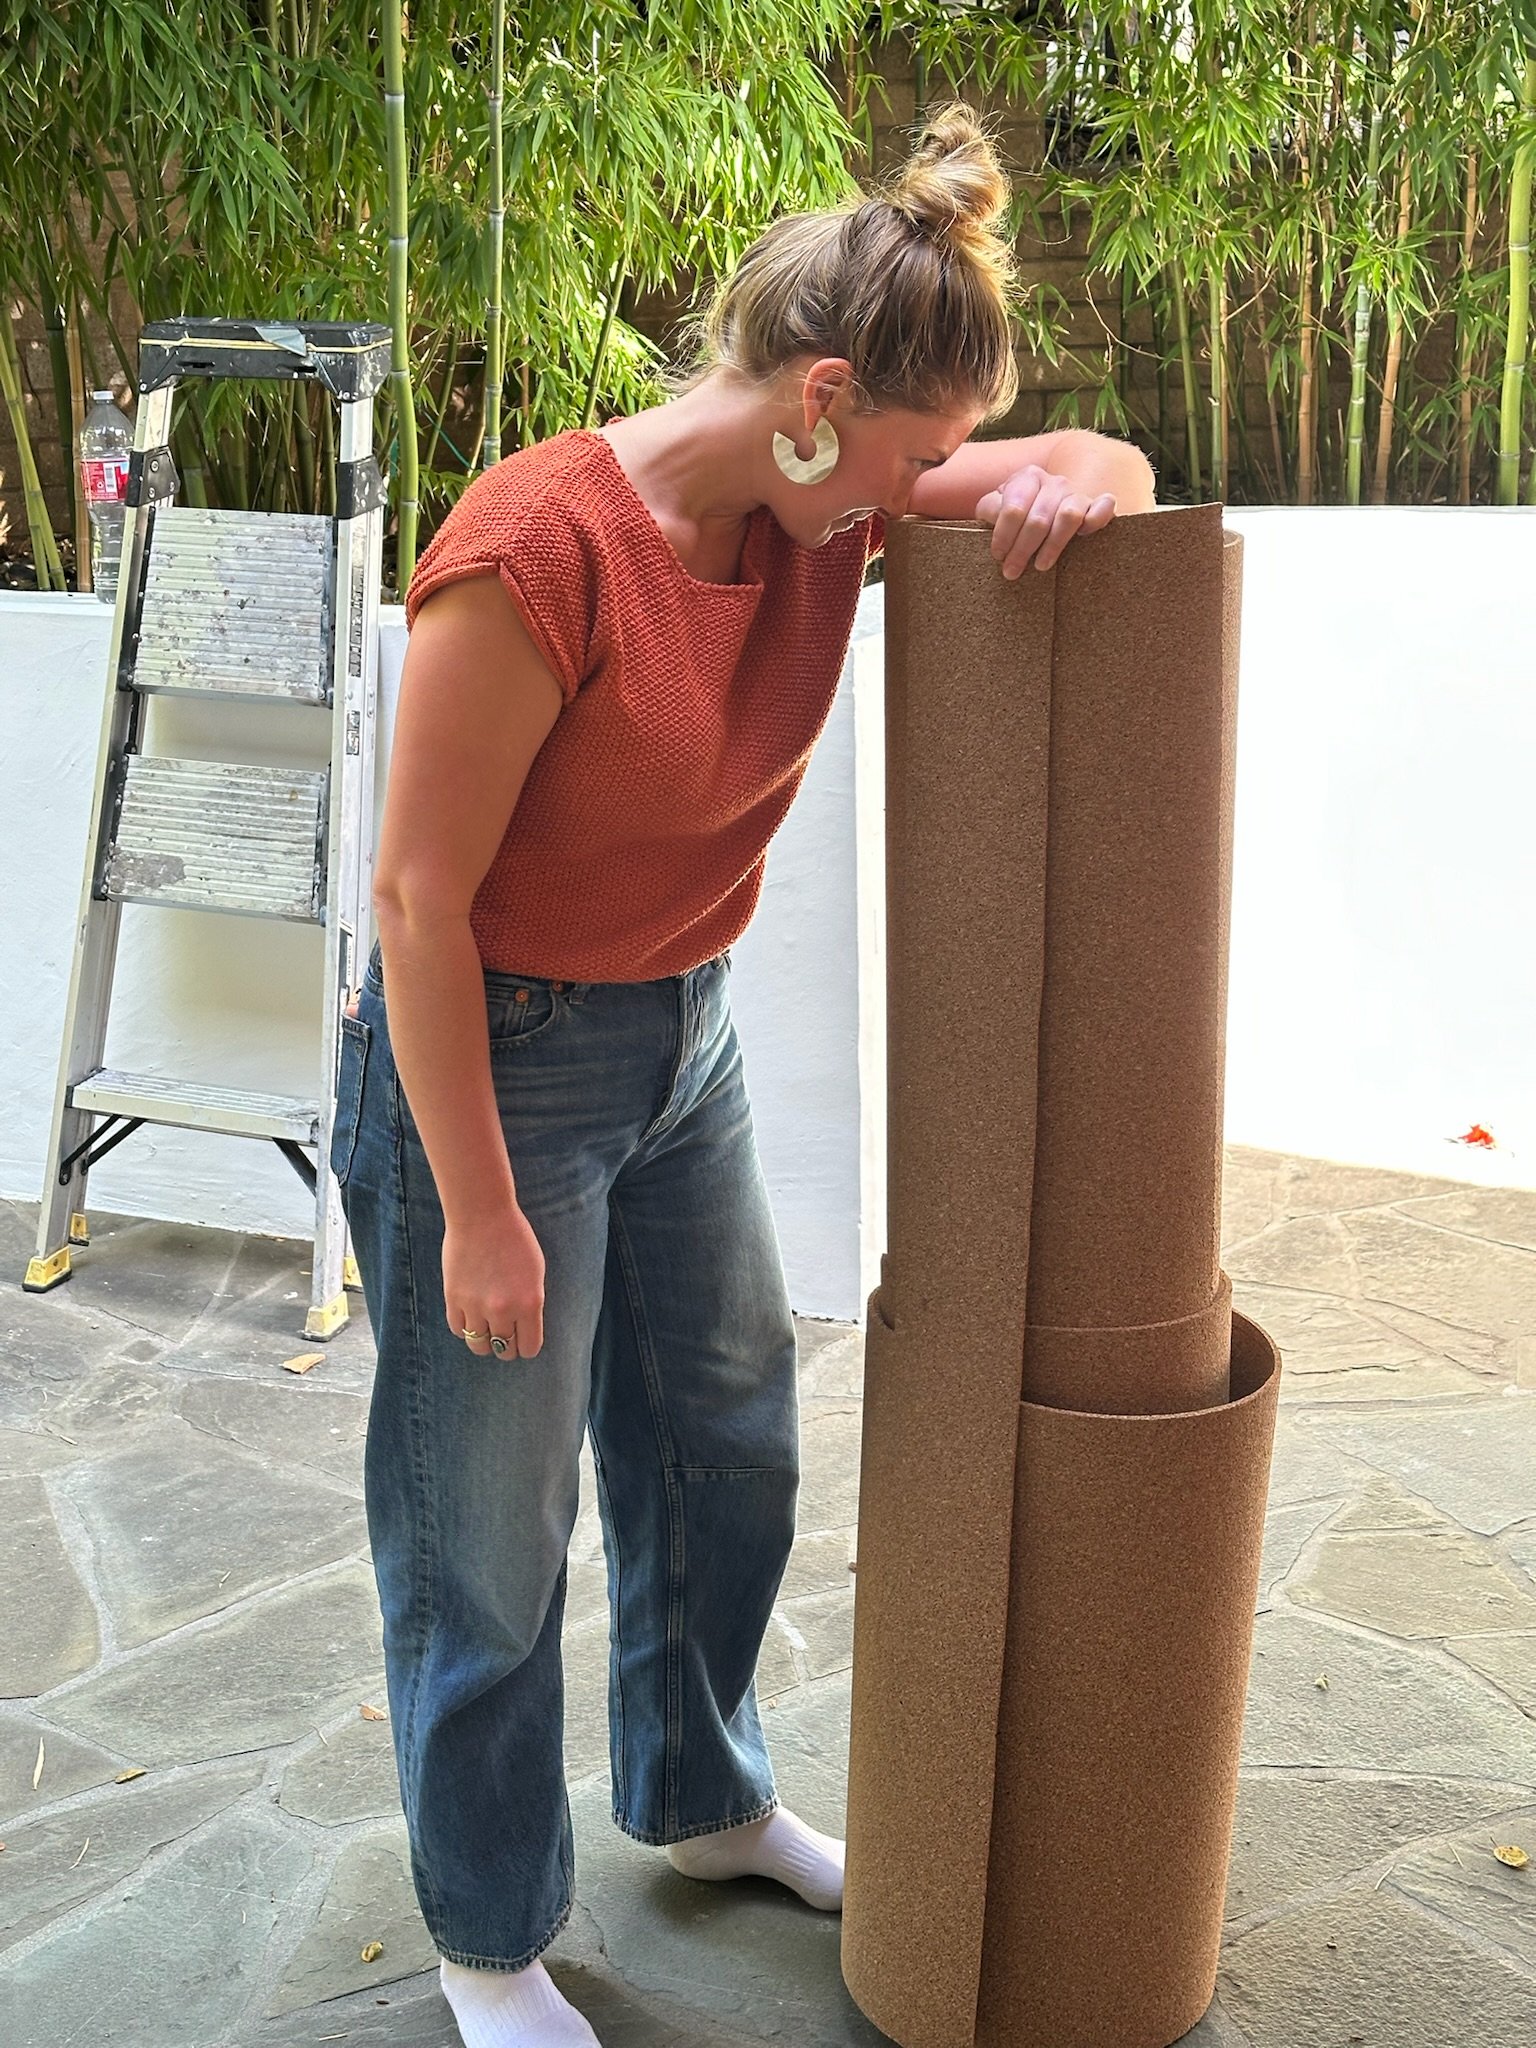
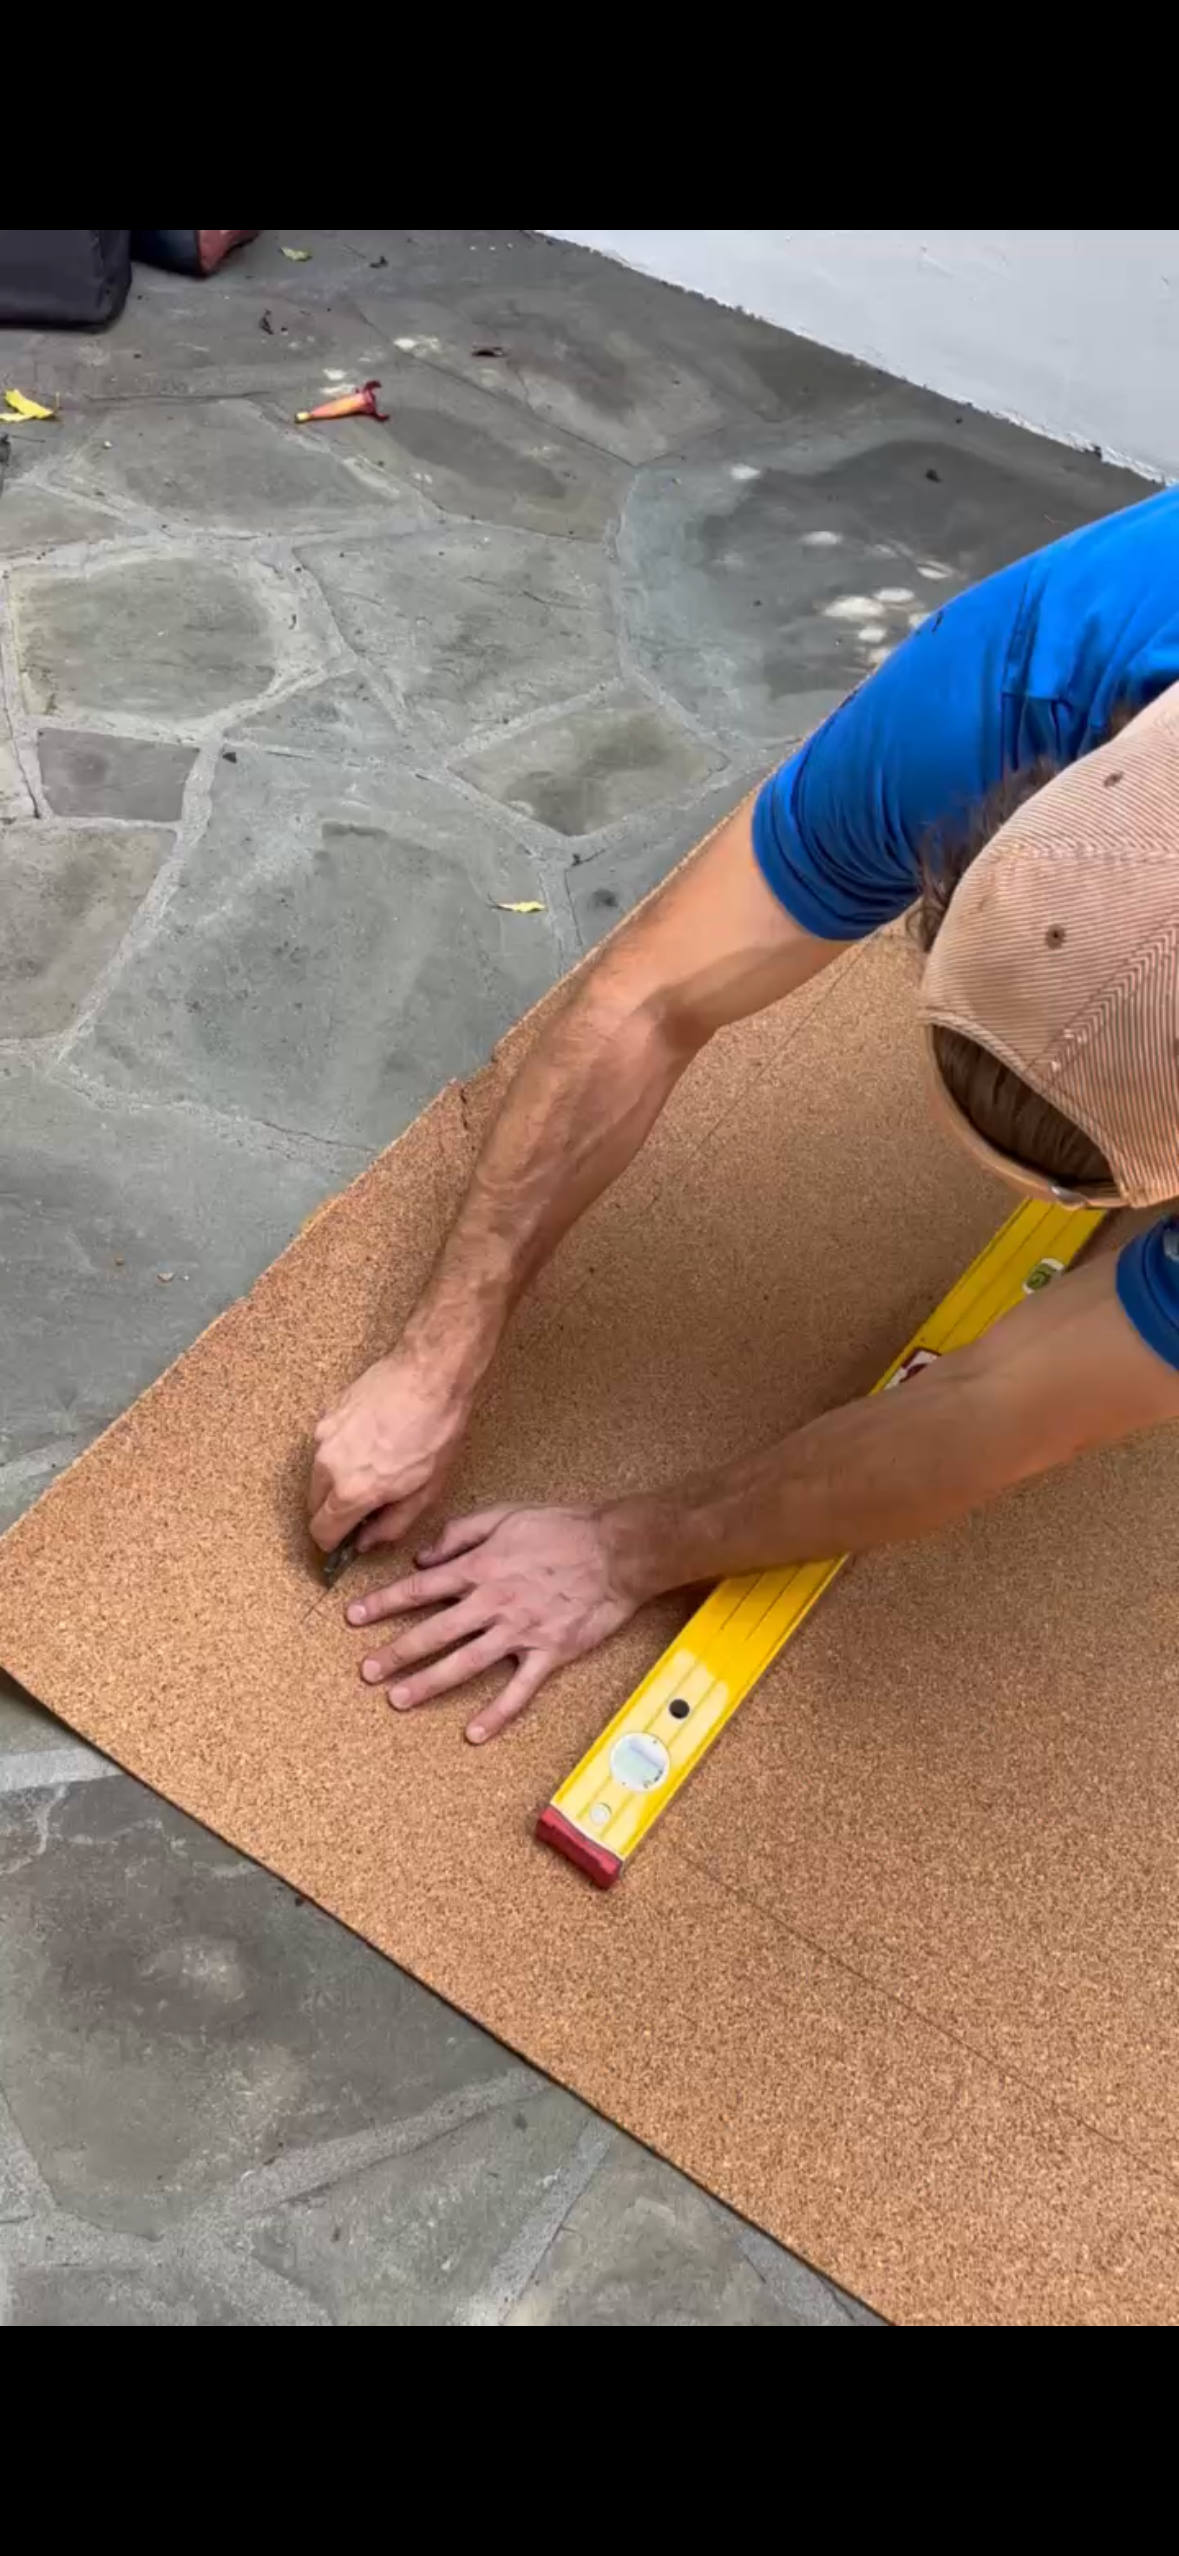
We started by ordering a large roll of cork. This ended up being more than we needed for the cove, so we created a second custom cork board in her brother’s secret fort! Our handyman measured the wall area before cutting two separate sheets of cork for each face of the cove. We recommend putting a backing behind it as you cut with your utilty knife. Wood or cardboard are great options!
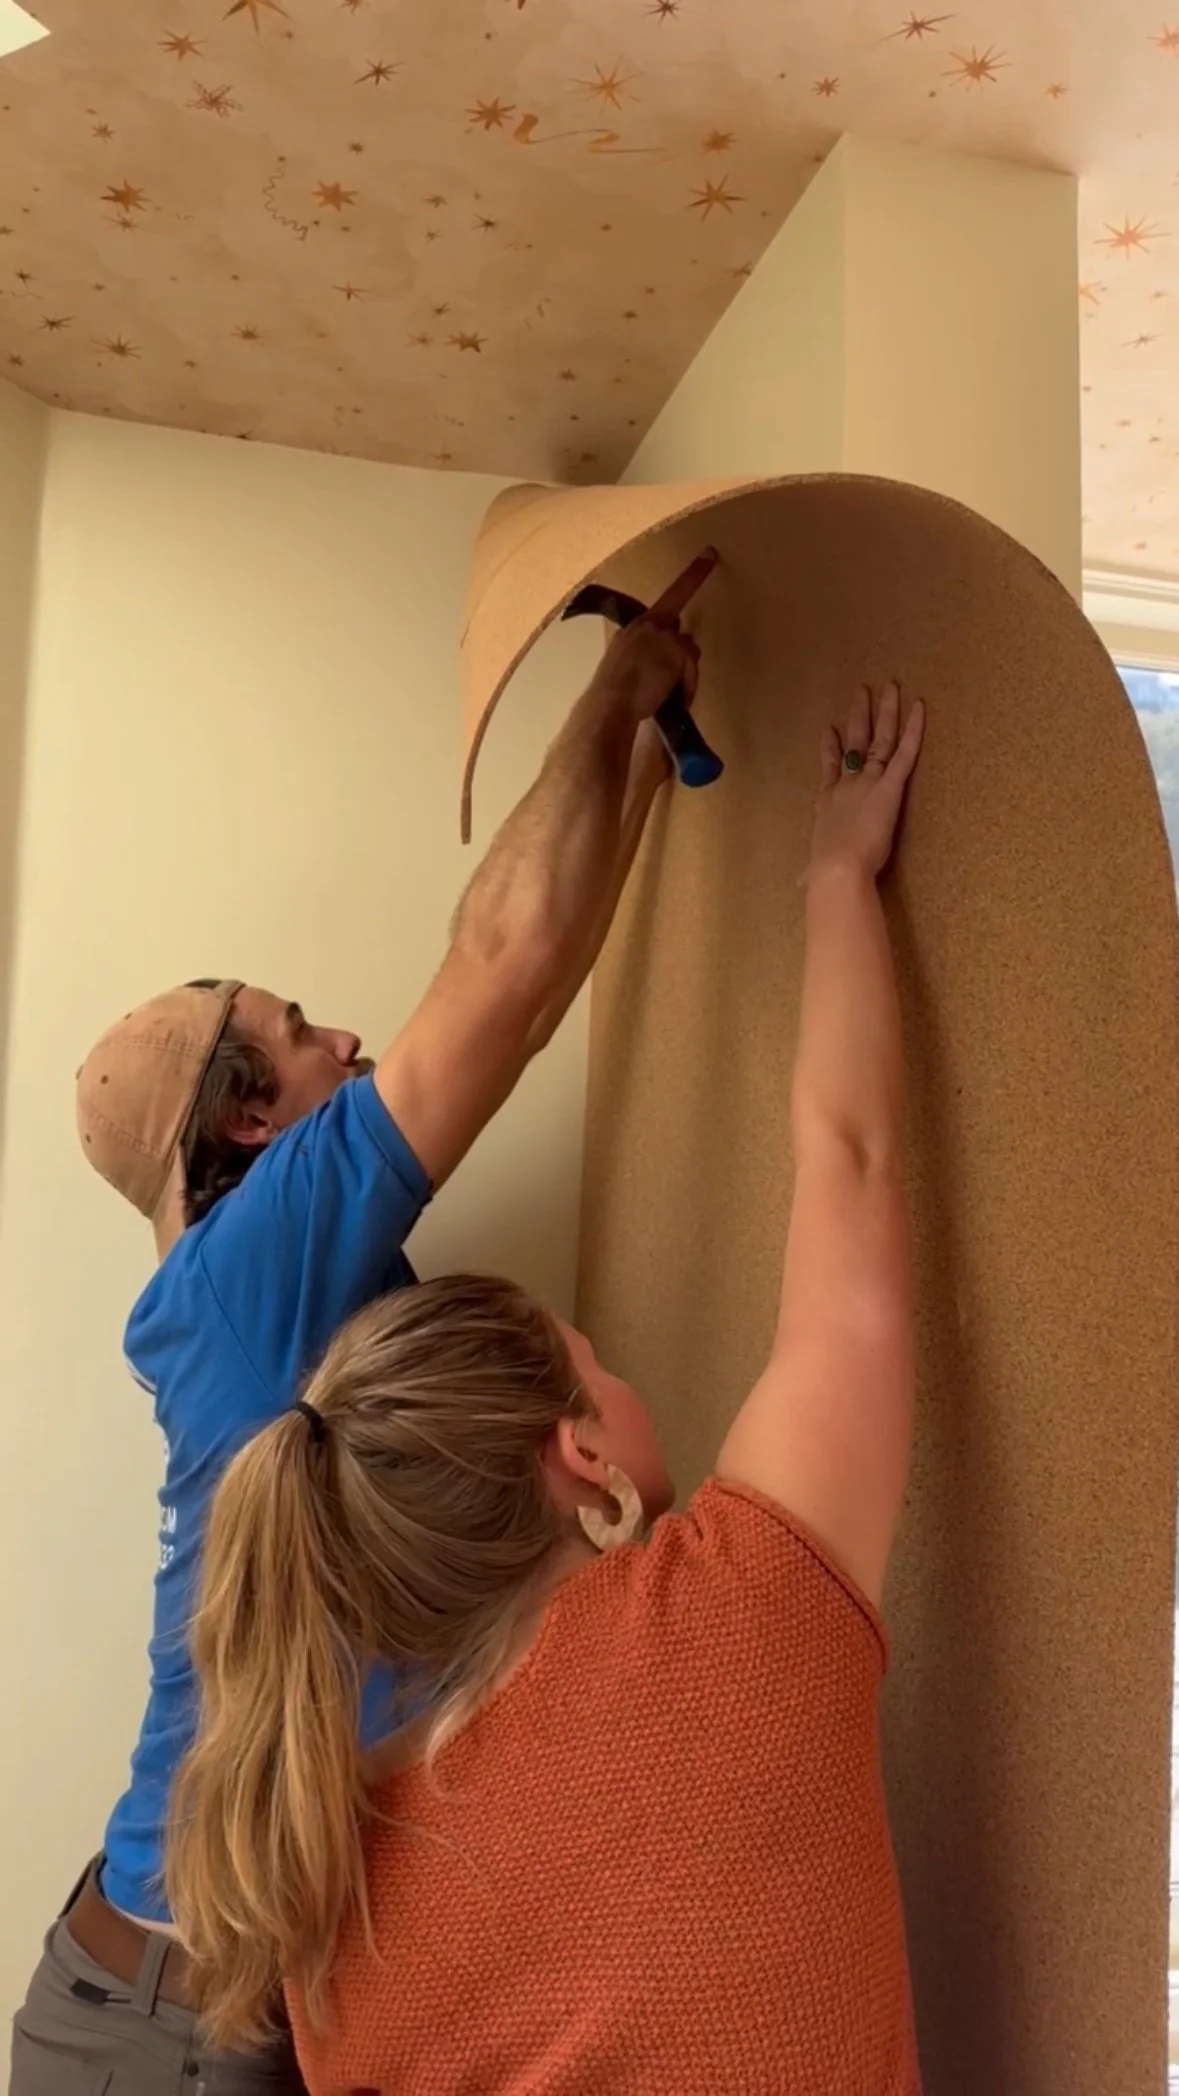
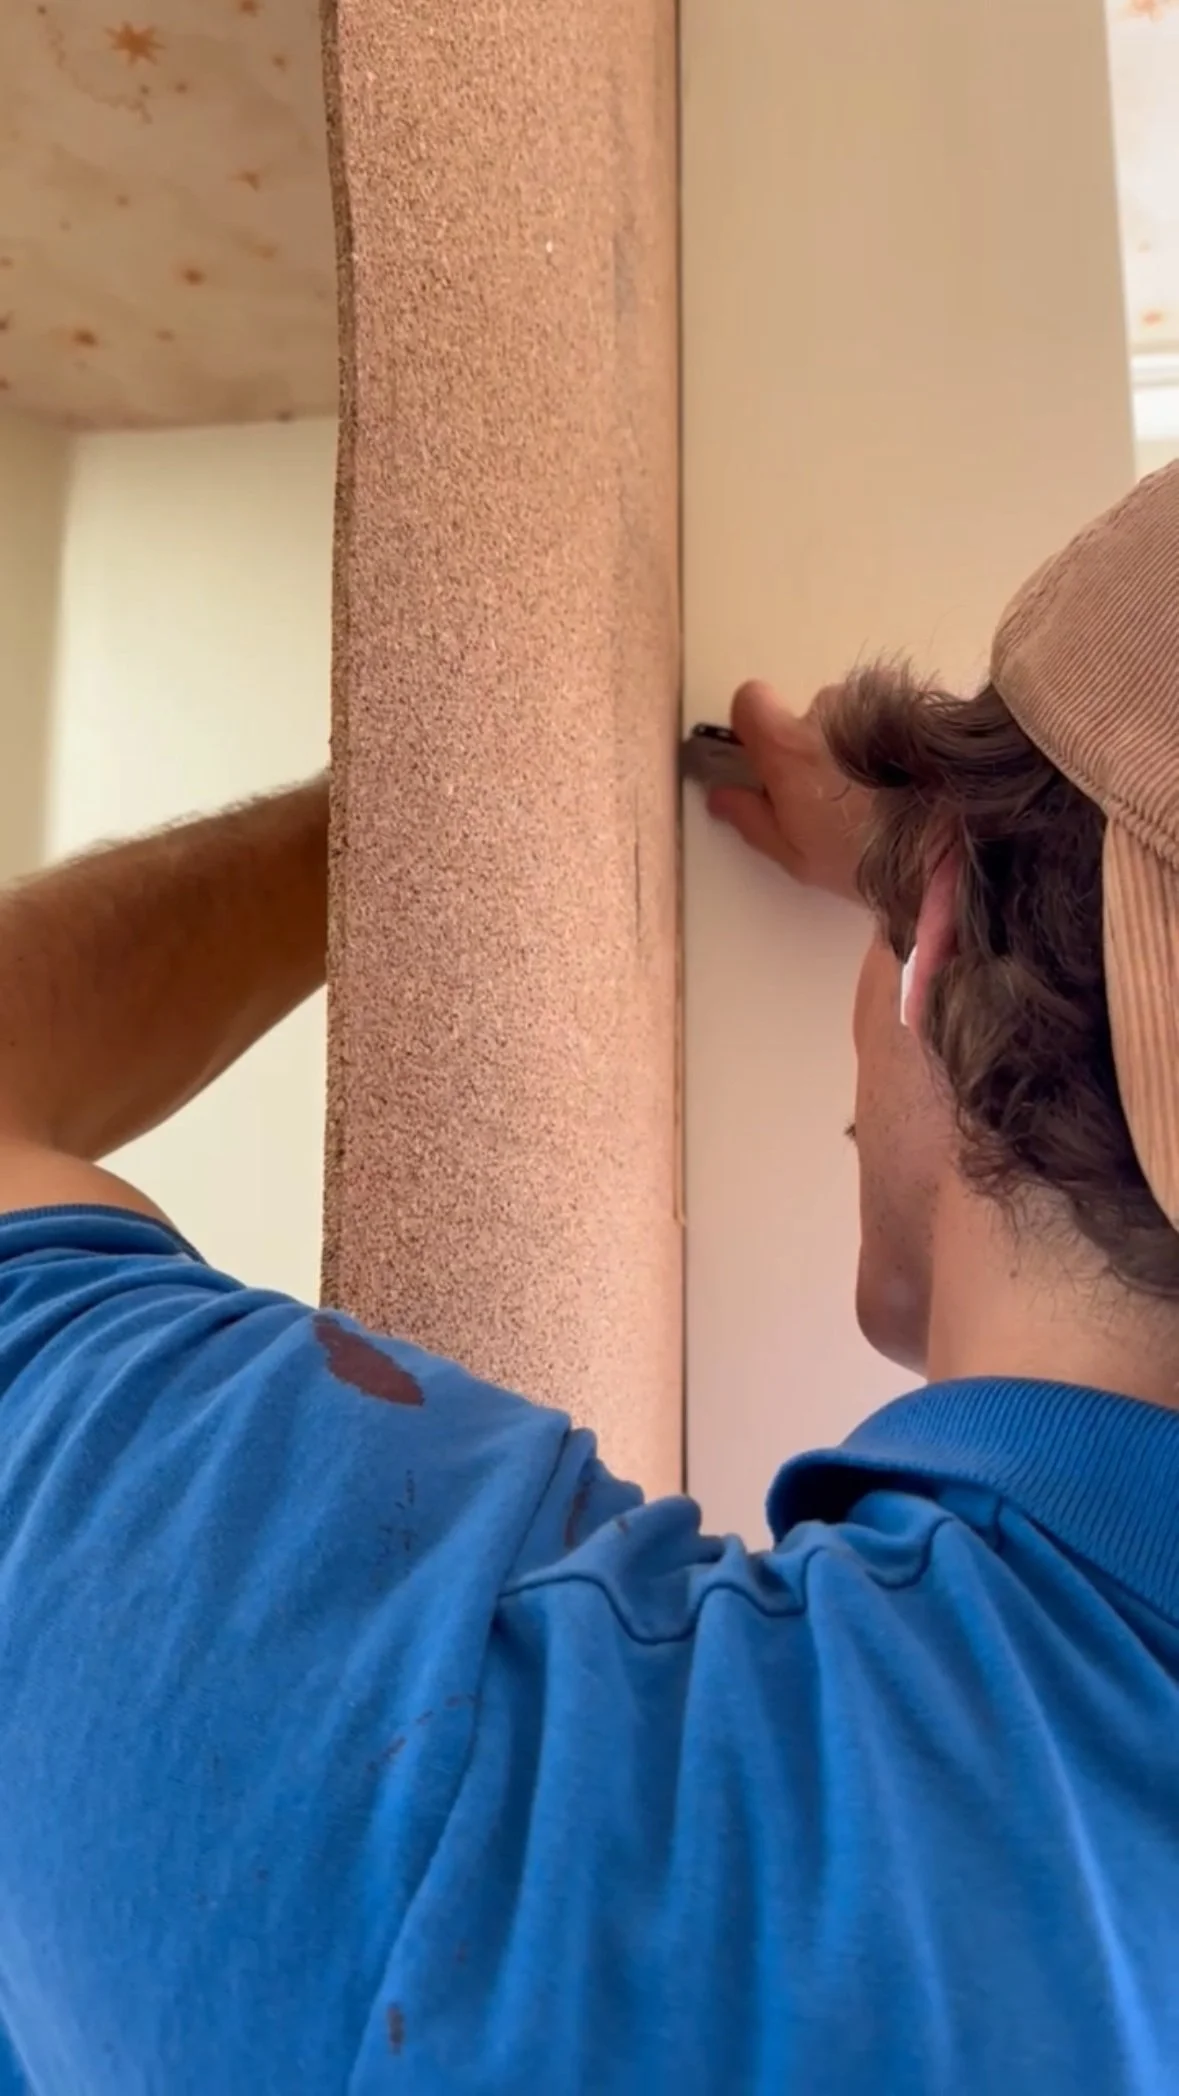
Next, he brought the cork into the room and adhered it to the wall with small head escutcheon brass pins (he spaced them about 8 inches apart along the center and edges of the cork). There really isn’t an exact way this needs to be done, just enough tacks to make it secure and hold up the weight. We did not put anything behind the cork, just laid it directly on the wall. After, he cut the excess with a blade against the wall. Slow and steady wins the race here, since cork has a tendancy to break!
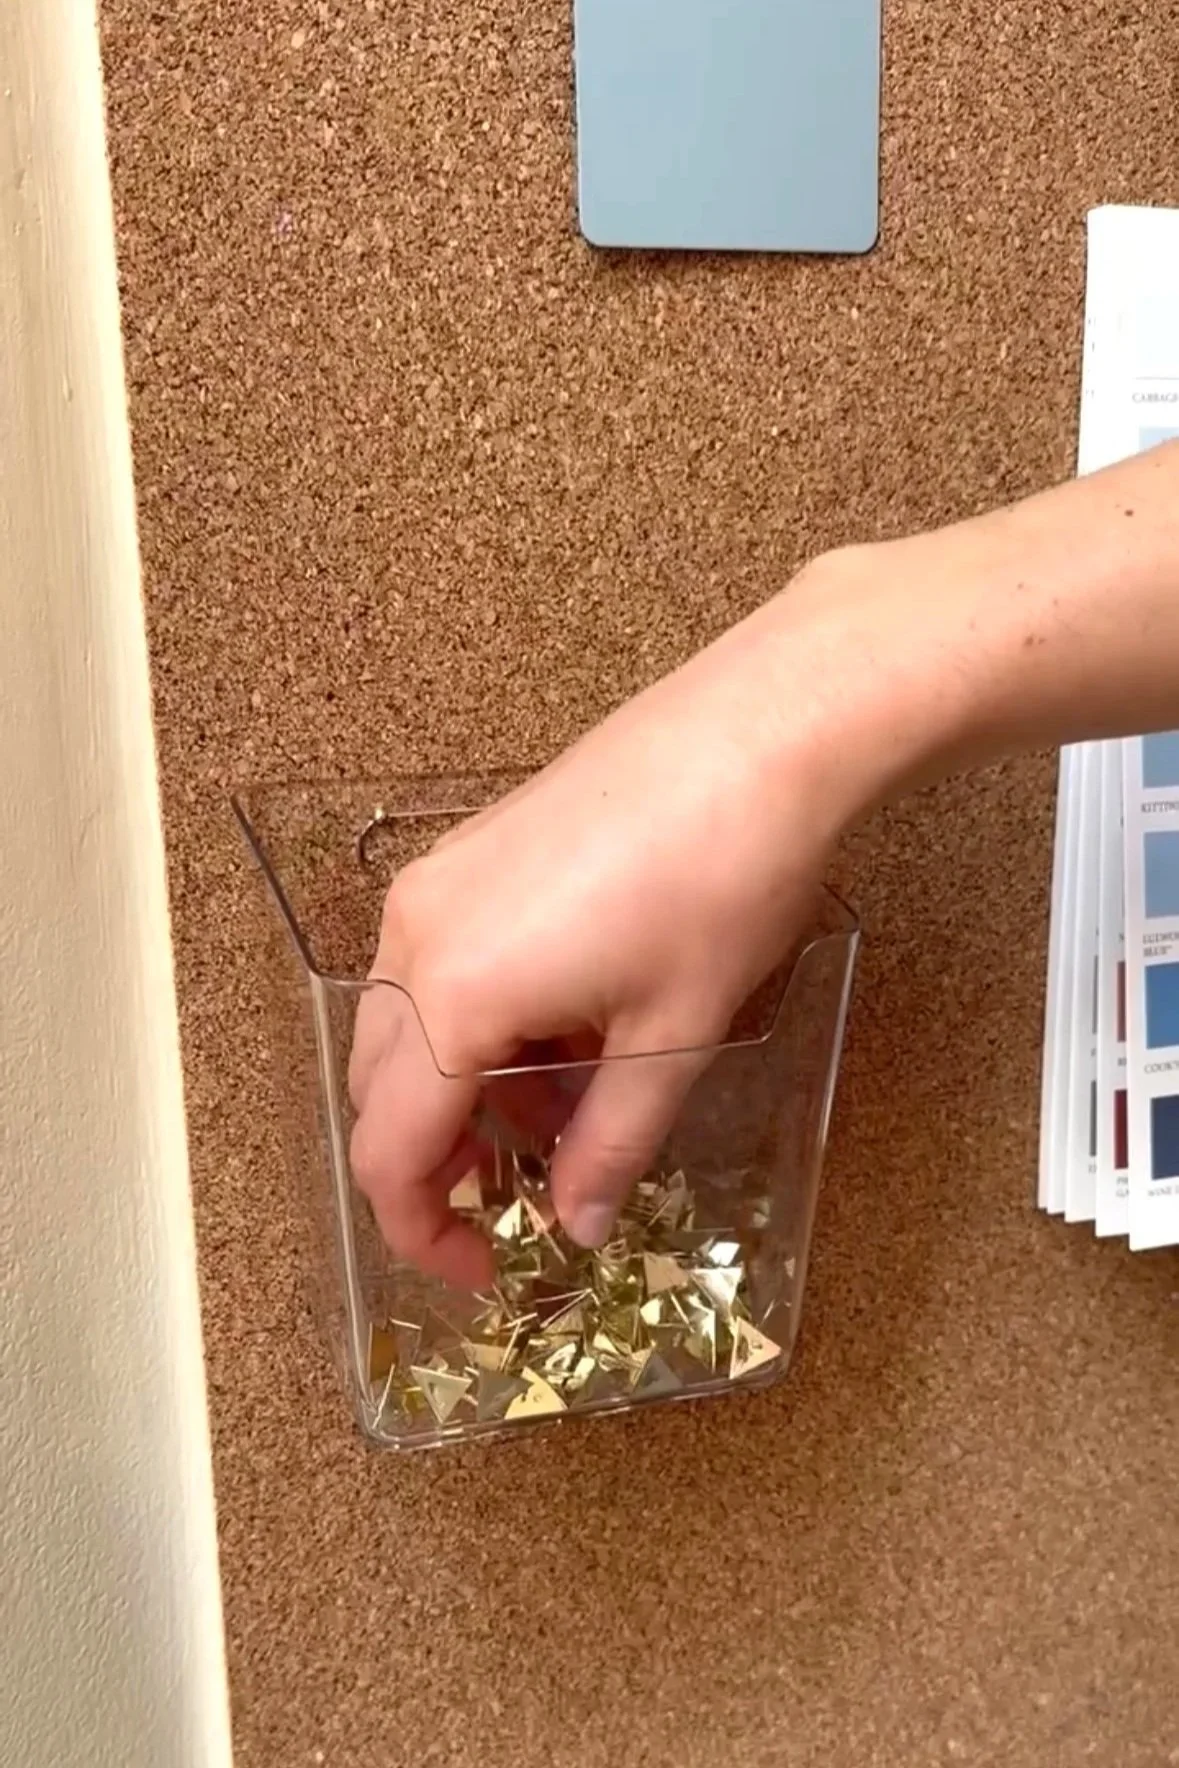
We also had him hang an acrylic wall pocket to keep all of her tacks in one spot.
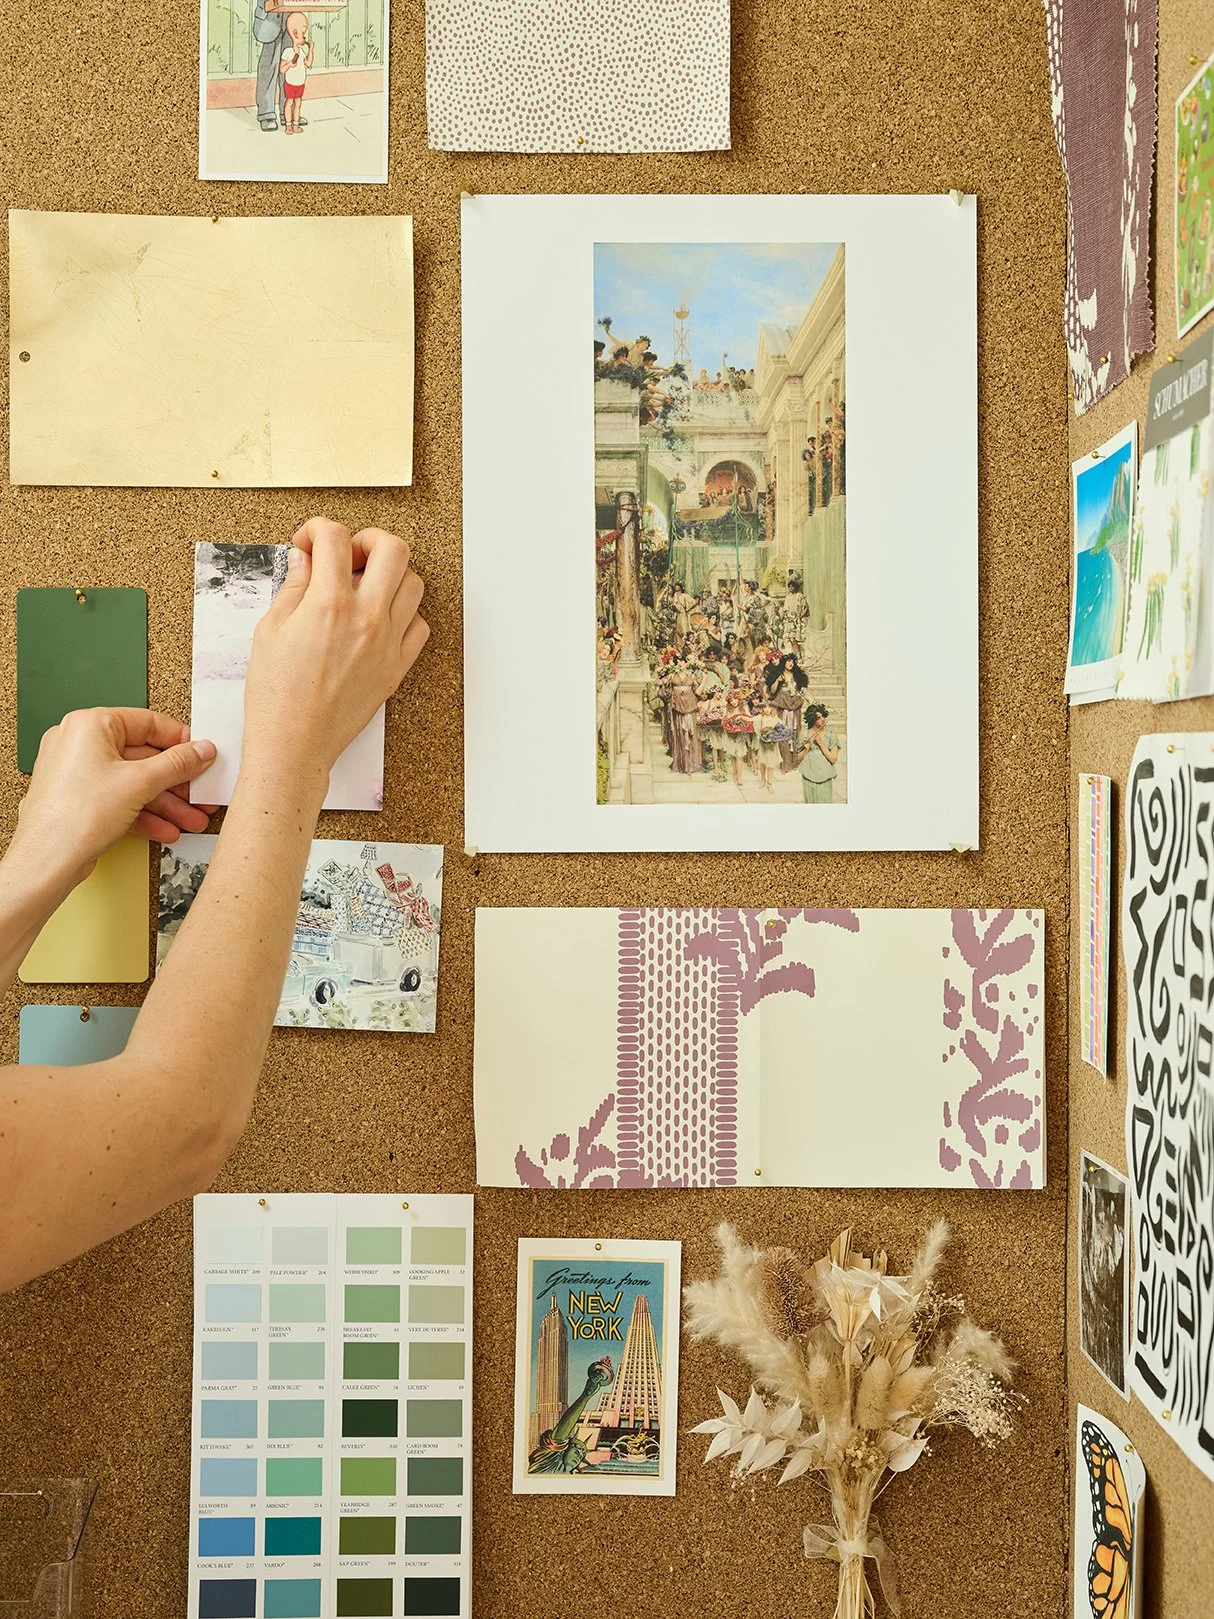
Finally, it was time for the fun part- adding all of her special keepsakes to the wall! It’s been so fun seeing what she’s chosen to add to the wall. From baby pictures, to summer reading goals, to Universal Studios tickets and Bible verses it’s a true representation of things that matter to her!